
Now that you’ve seen what the master bathroom looked one year ago what the master bathroom looked one year ago, let’s take a few steps forward. I mentioned some of the overall plans for the space. One of my goals when we remodel any space in our home – keep the original blueprint. I’ve always known that we could price ourselves out with remodeling and that’s very important NOT to do. One easy way to save money on home projects is by not changing the layout/floor-plan of the space. In laymen terms, if at all possible, put everything back where it was. That’s exactly what we’ve done in this bathroom.
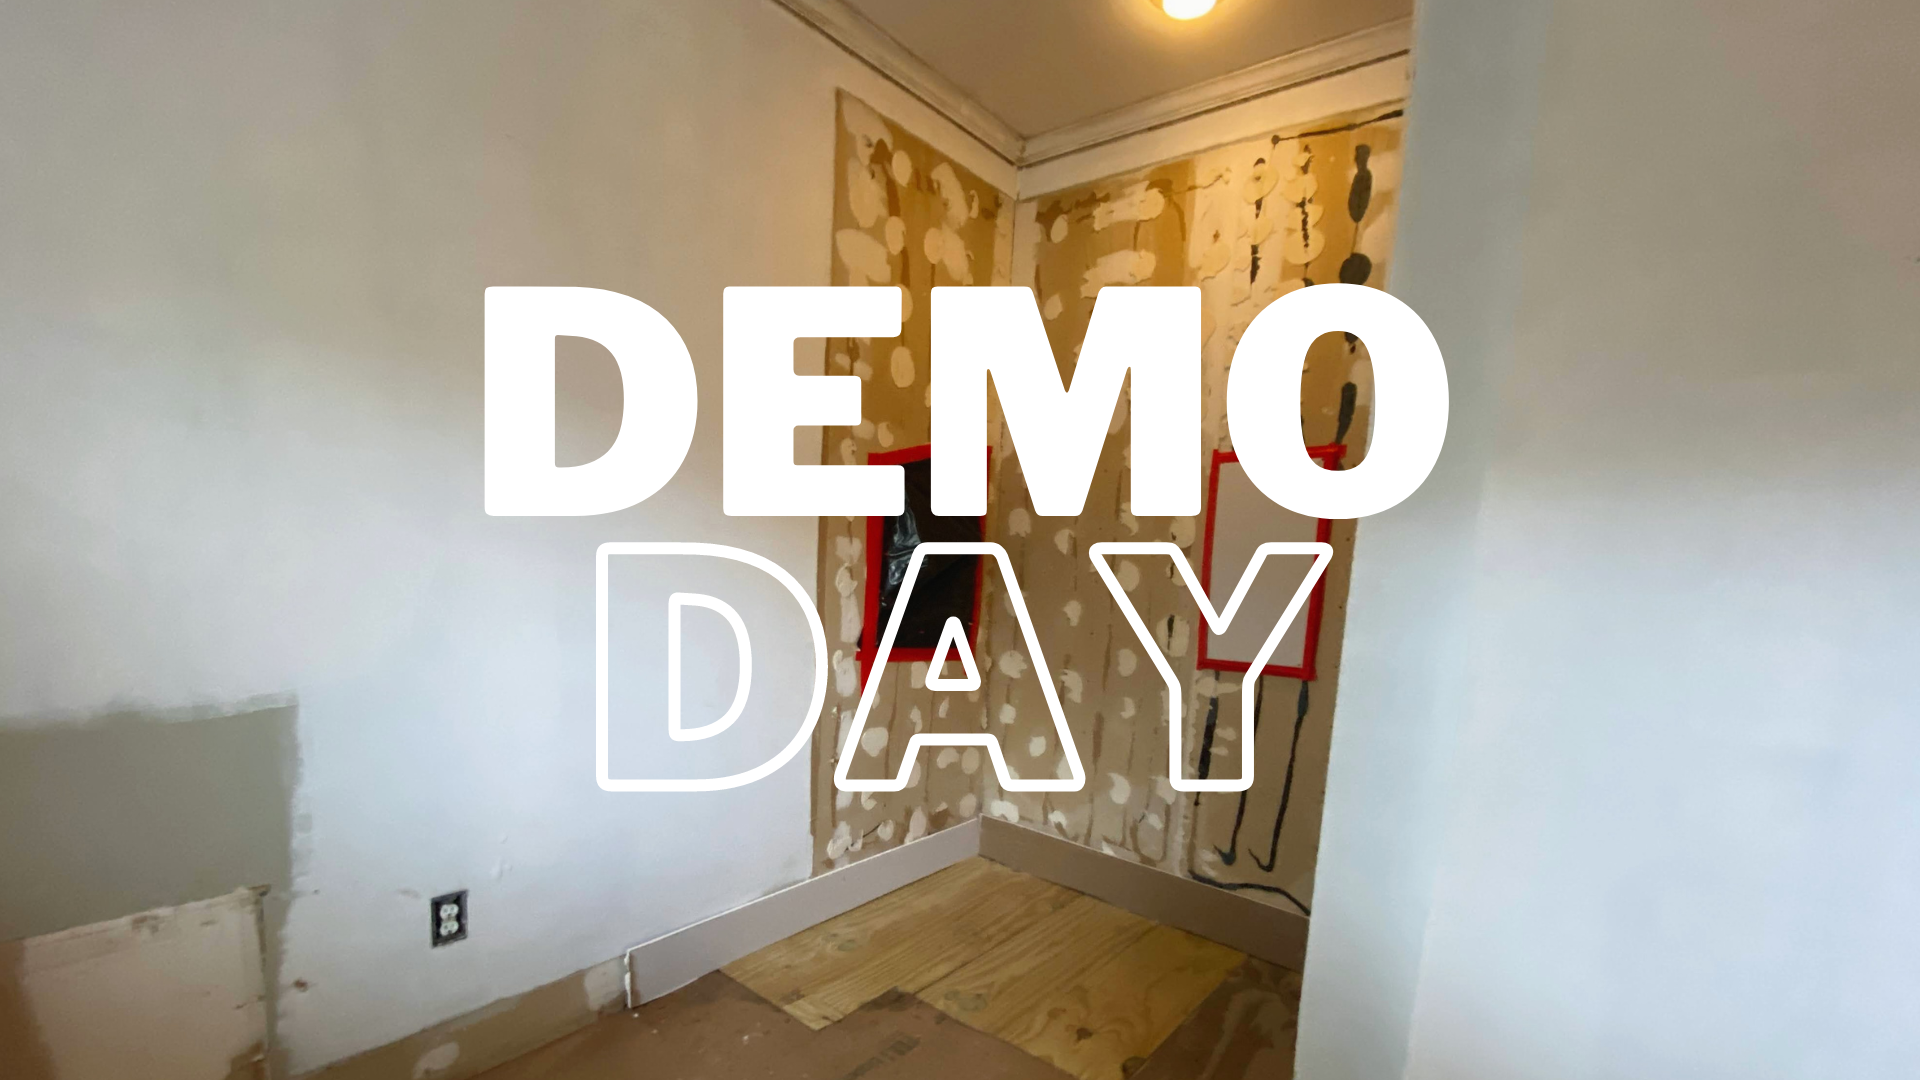
As I mentioned, we budgeted as much as we could to hire out a lot of work in the bathroom. First up was demo, which was handled by a skilled carpenter, who has done a lot of work in our home. Originally, I thought we could save money and demo ourselves. However, I’m so glad we paid someone for this. There were holes by the jacuzzi tub and shower that needed to be patched. I don’t think we would have been able to quickly figure out how to handle the water damage. It wasn’t significant but it was enough to let a professional handle it.
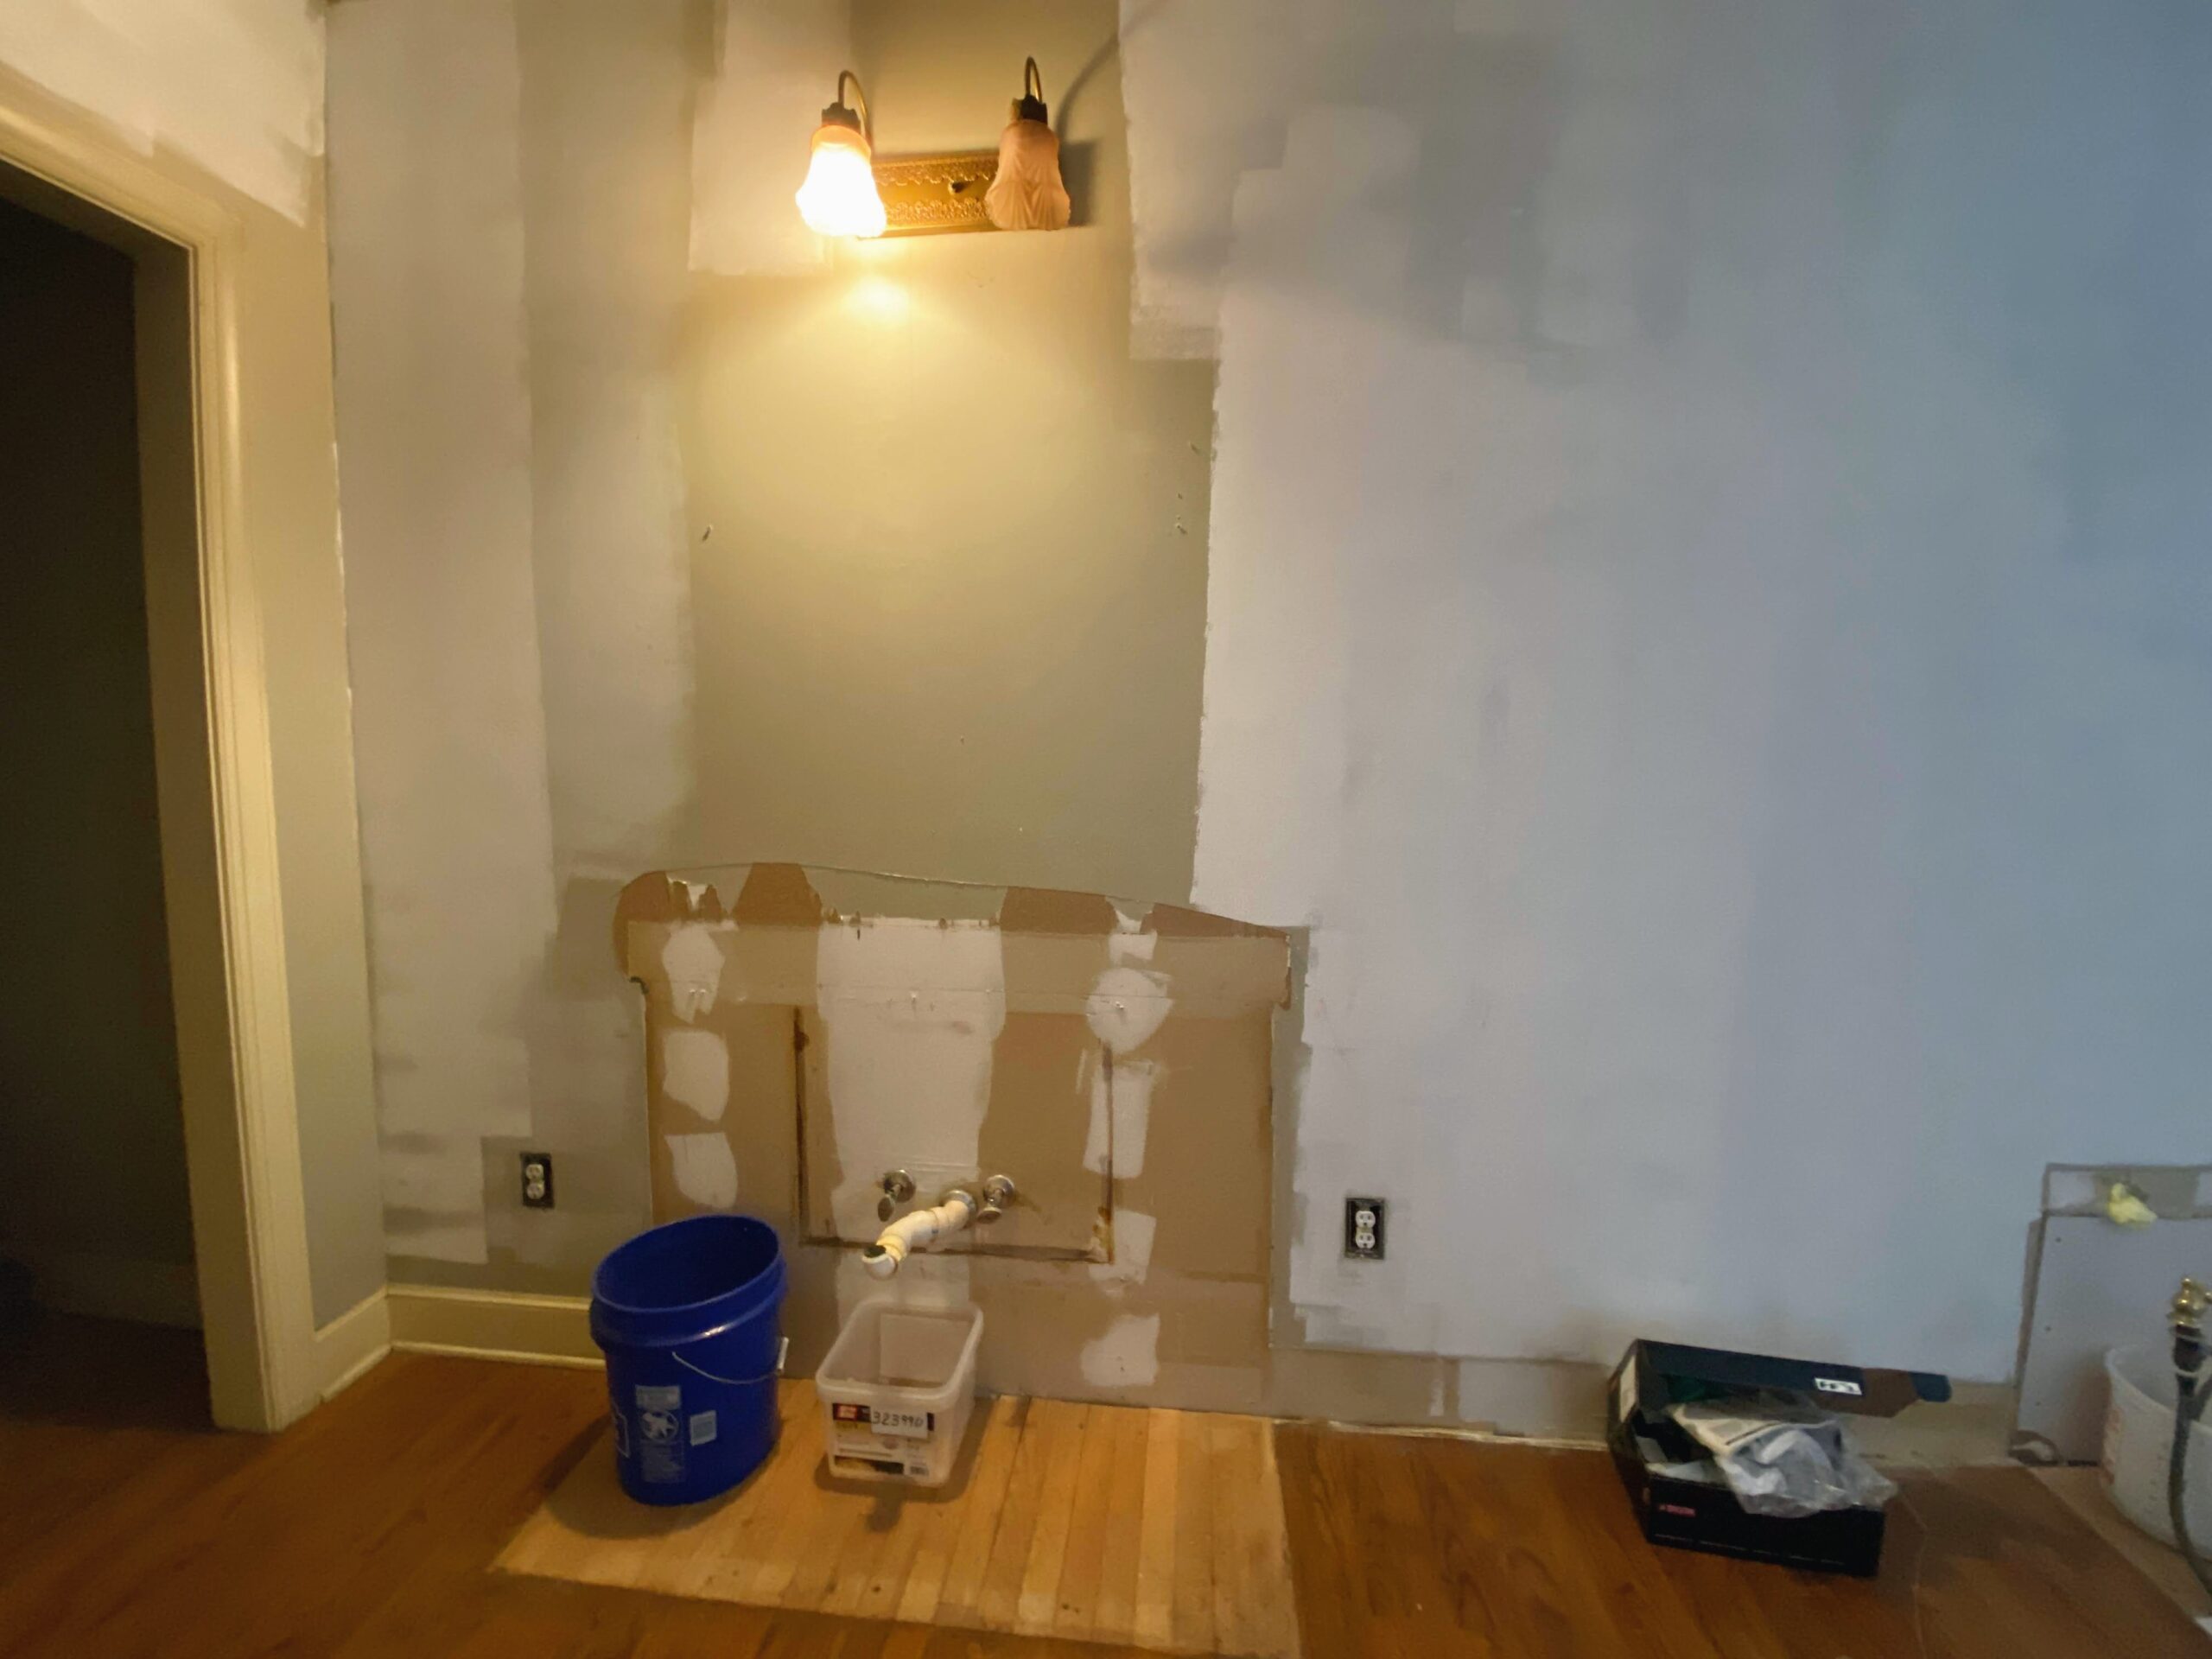
Vanity Area After Demo
The original jacuzzi tub was completely removed and we had plan to install a freestanding tub. To save money, we decided to tile only the “wet area” or tub/shower are in the bathroom. This would create a mixed flooring situation that initially I was a little disappointed about. I really wanted the whole floor to be black hexagon. But saving some of the original wood flooring and getting the flooring I really wanted in half the space was still exciting. It would create a focal point for the tub too! Again, this cost-saving decision was one we made with our carpenter who was installing the flooring. Looking back, I’m completely happy with the way things worked out.
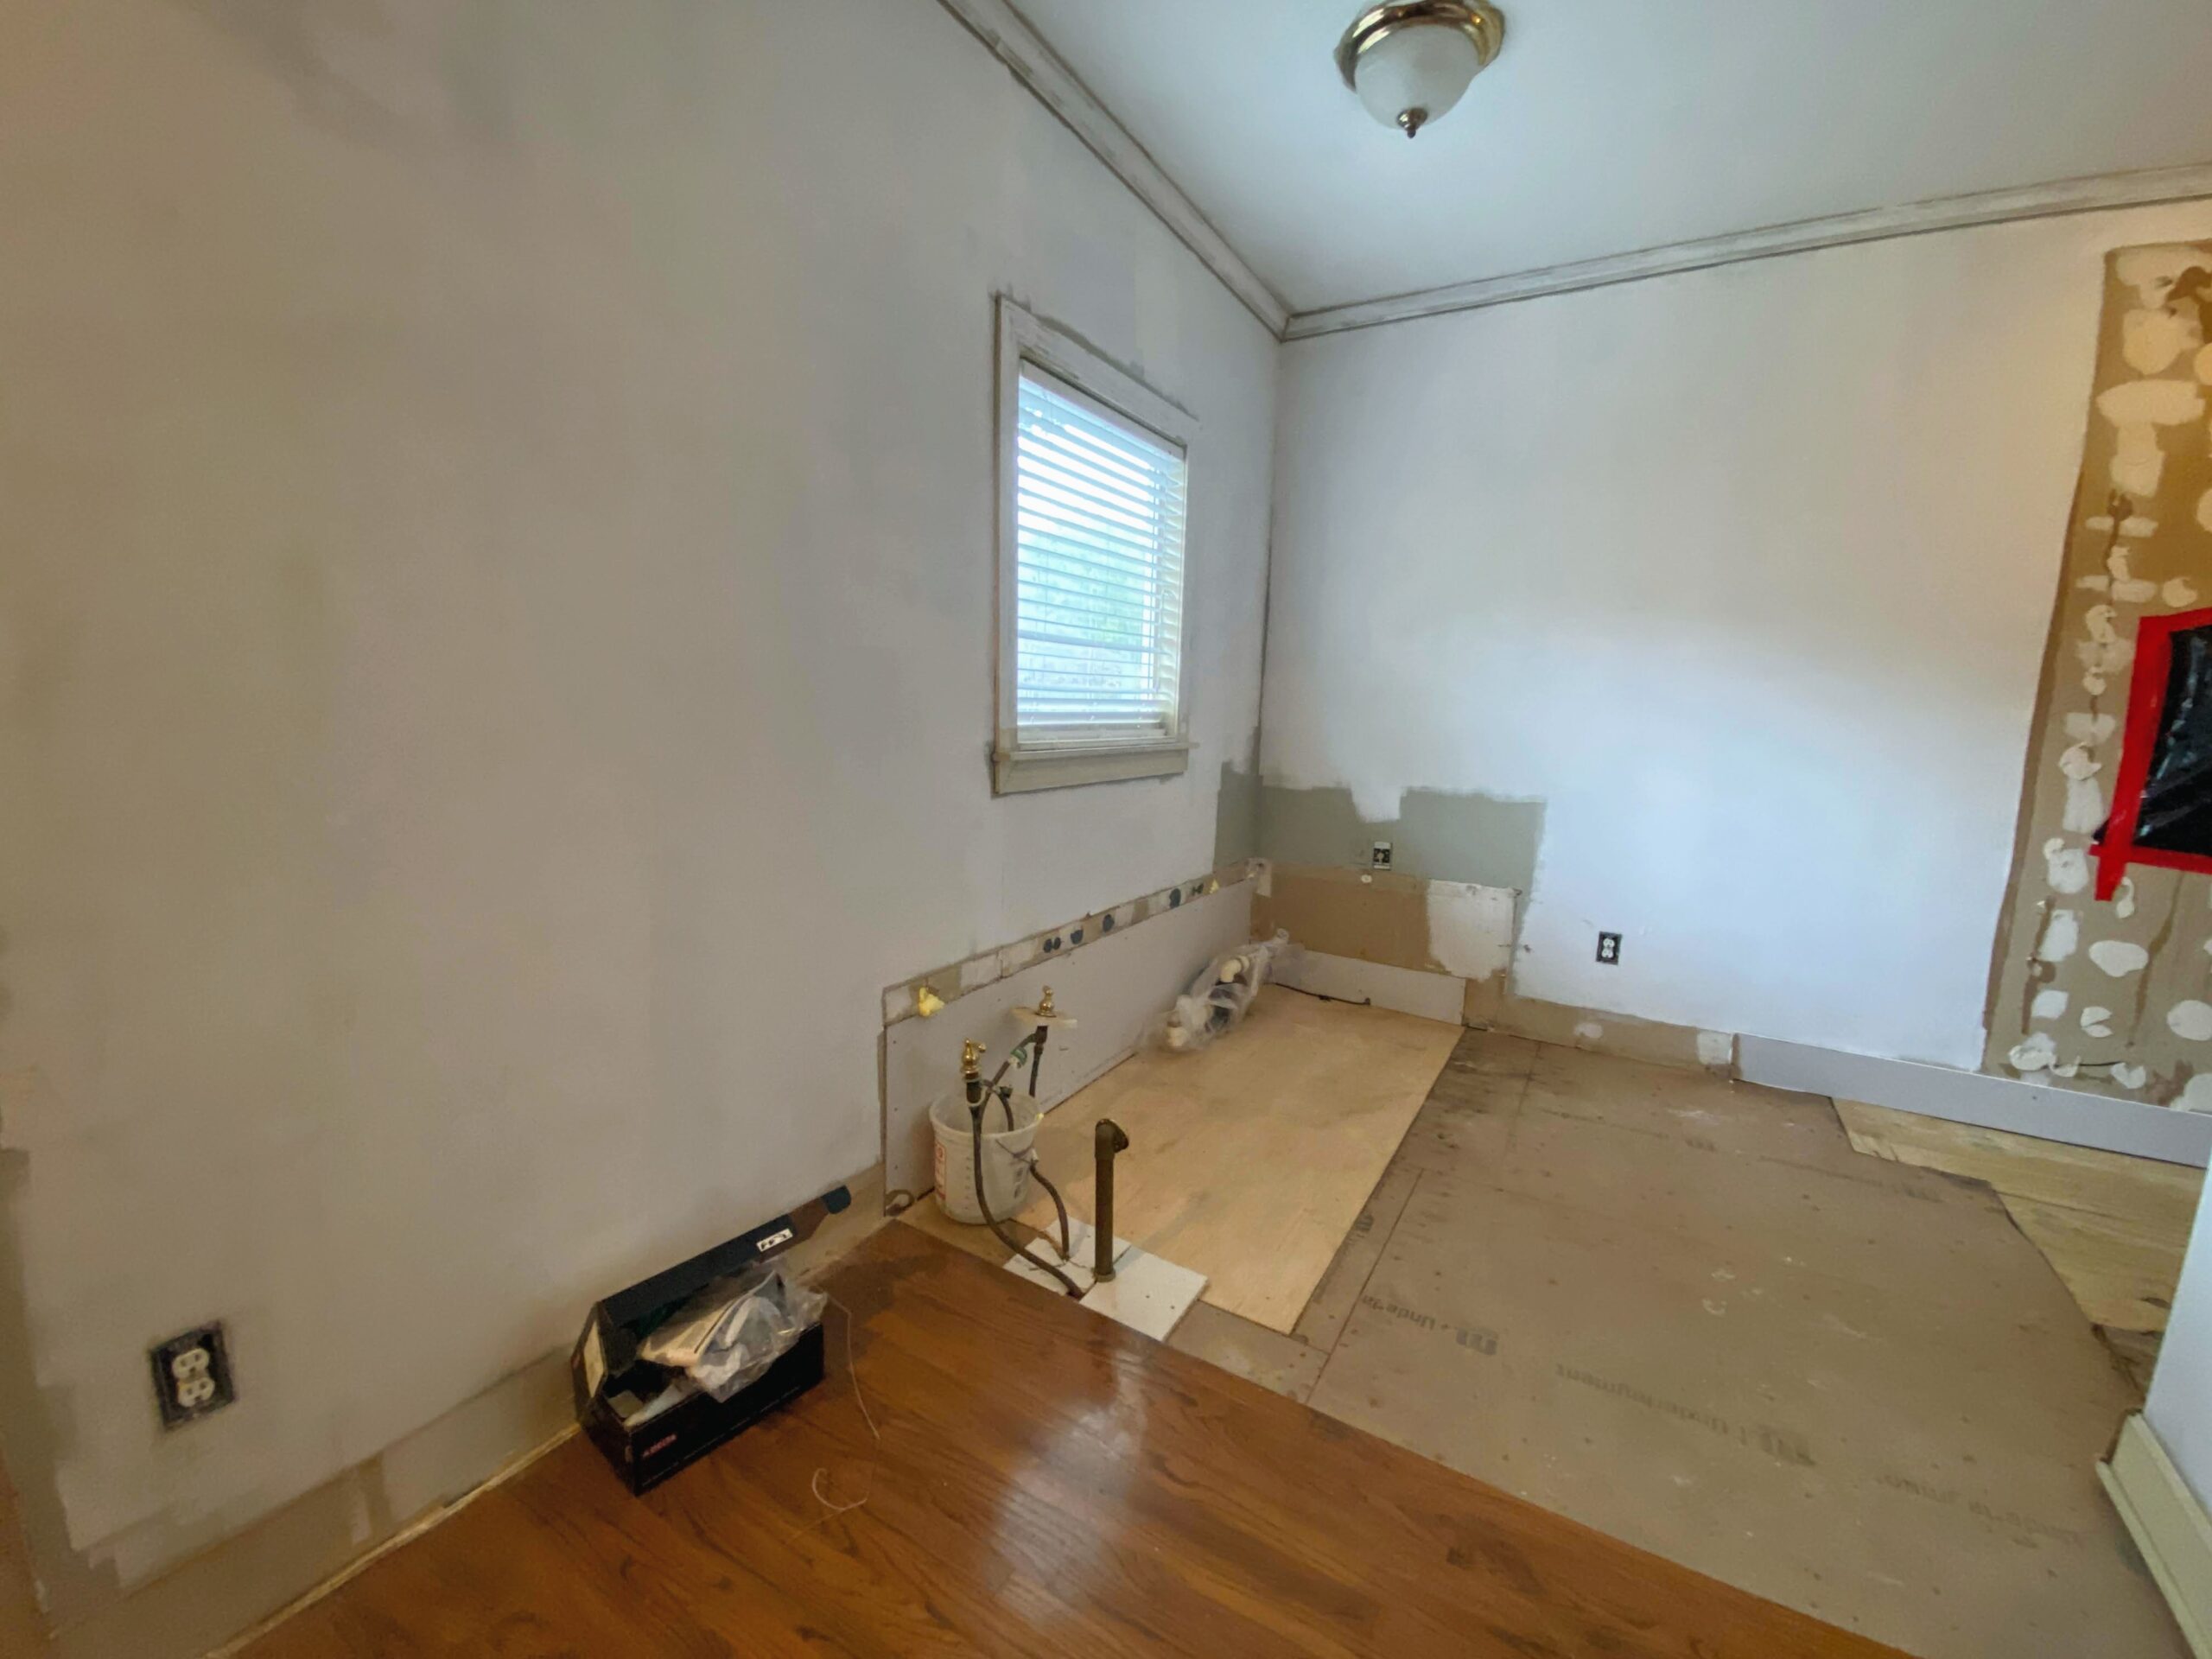
Tub Area
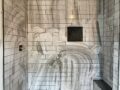
The goal with the shower was to keep the layout. Once the cultured marble was demoed, there was some patchwork needed for water damage. Since our upstairs bathroom shower has subway tile, I knew I wanted to style this shower in a similar way. So I chose white subway tiles and black hexagon tiles for this shower. Here’s the space in all its demo glory waiting for its remodel debut. We also made plans to update the lighting with a fan/light combination.
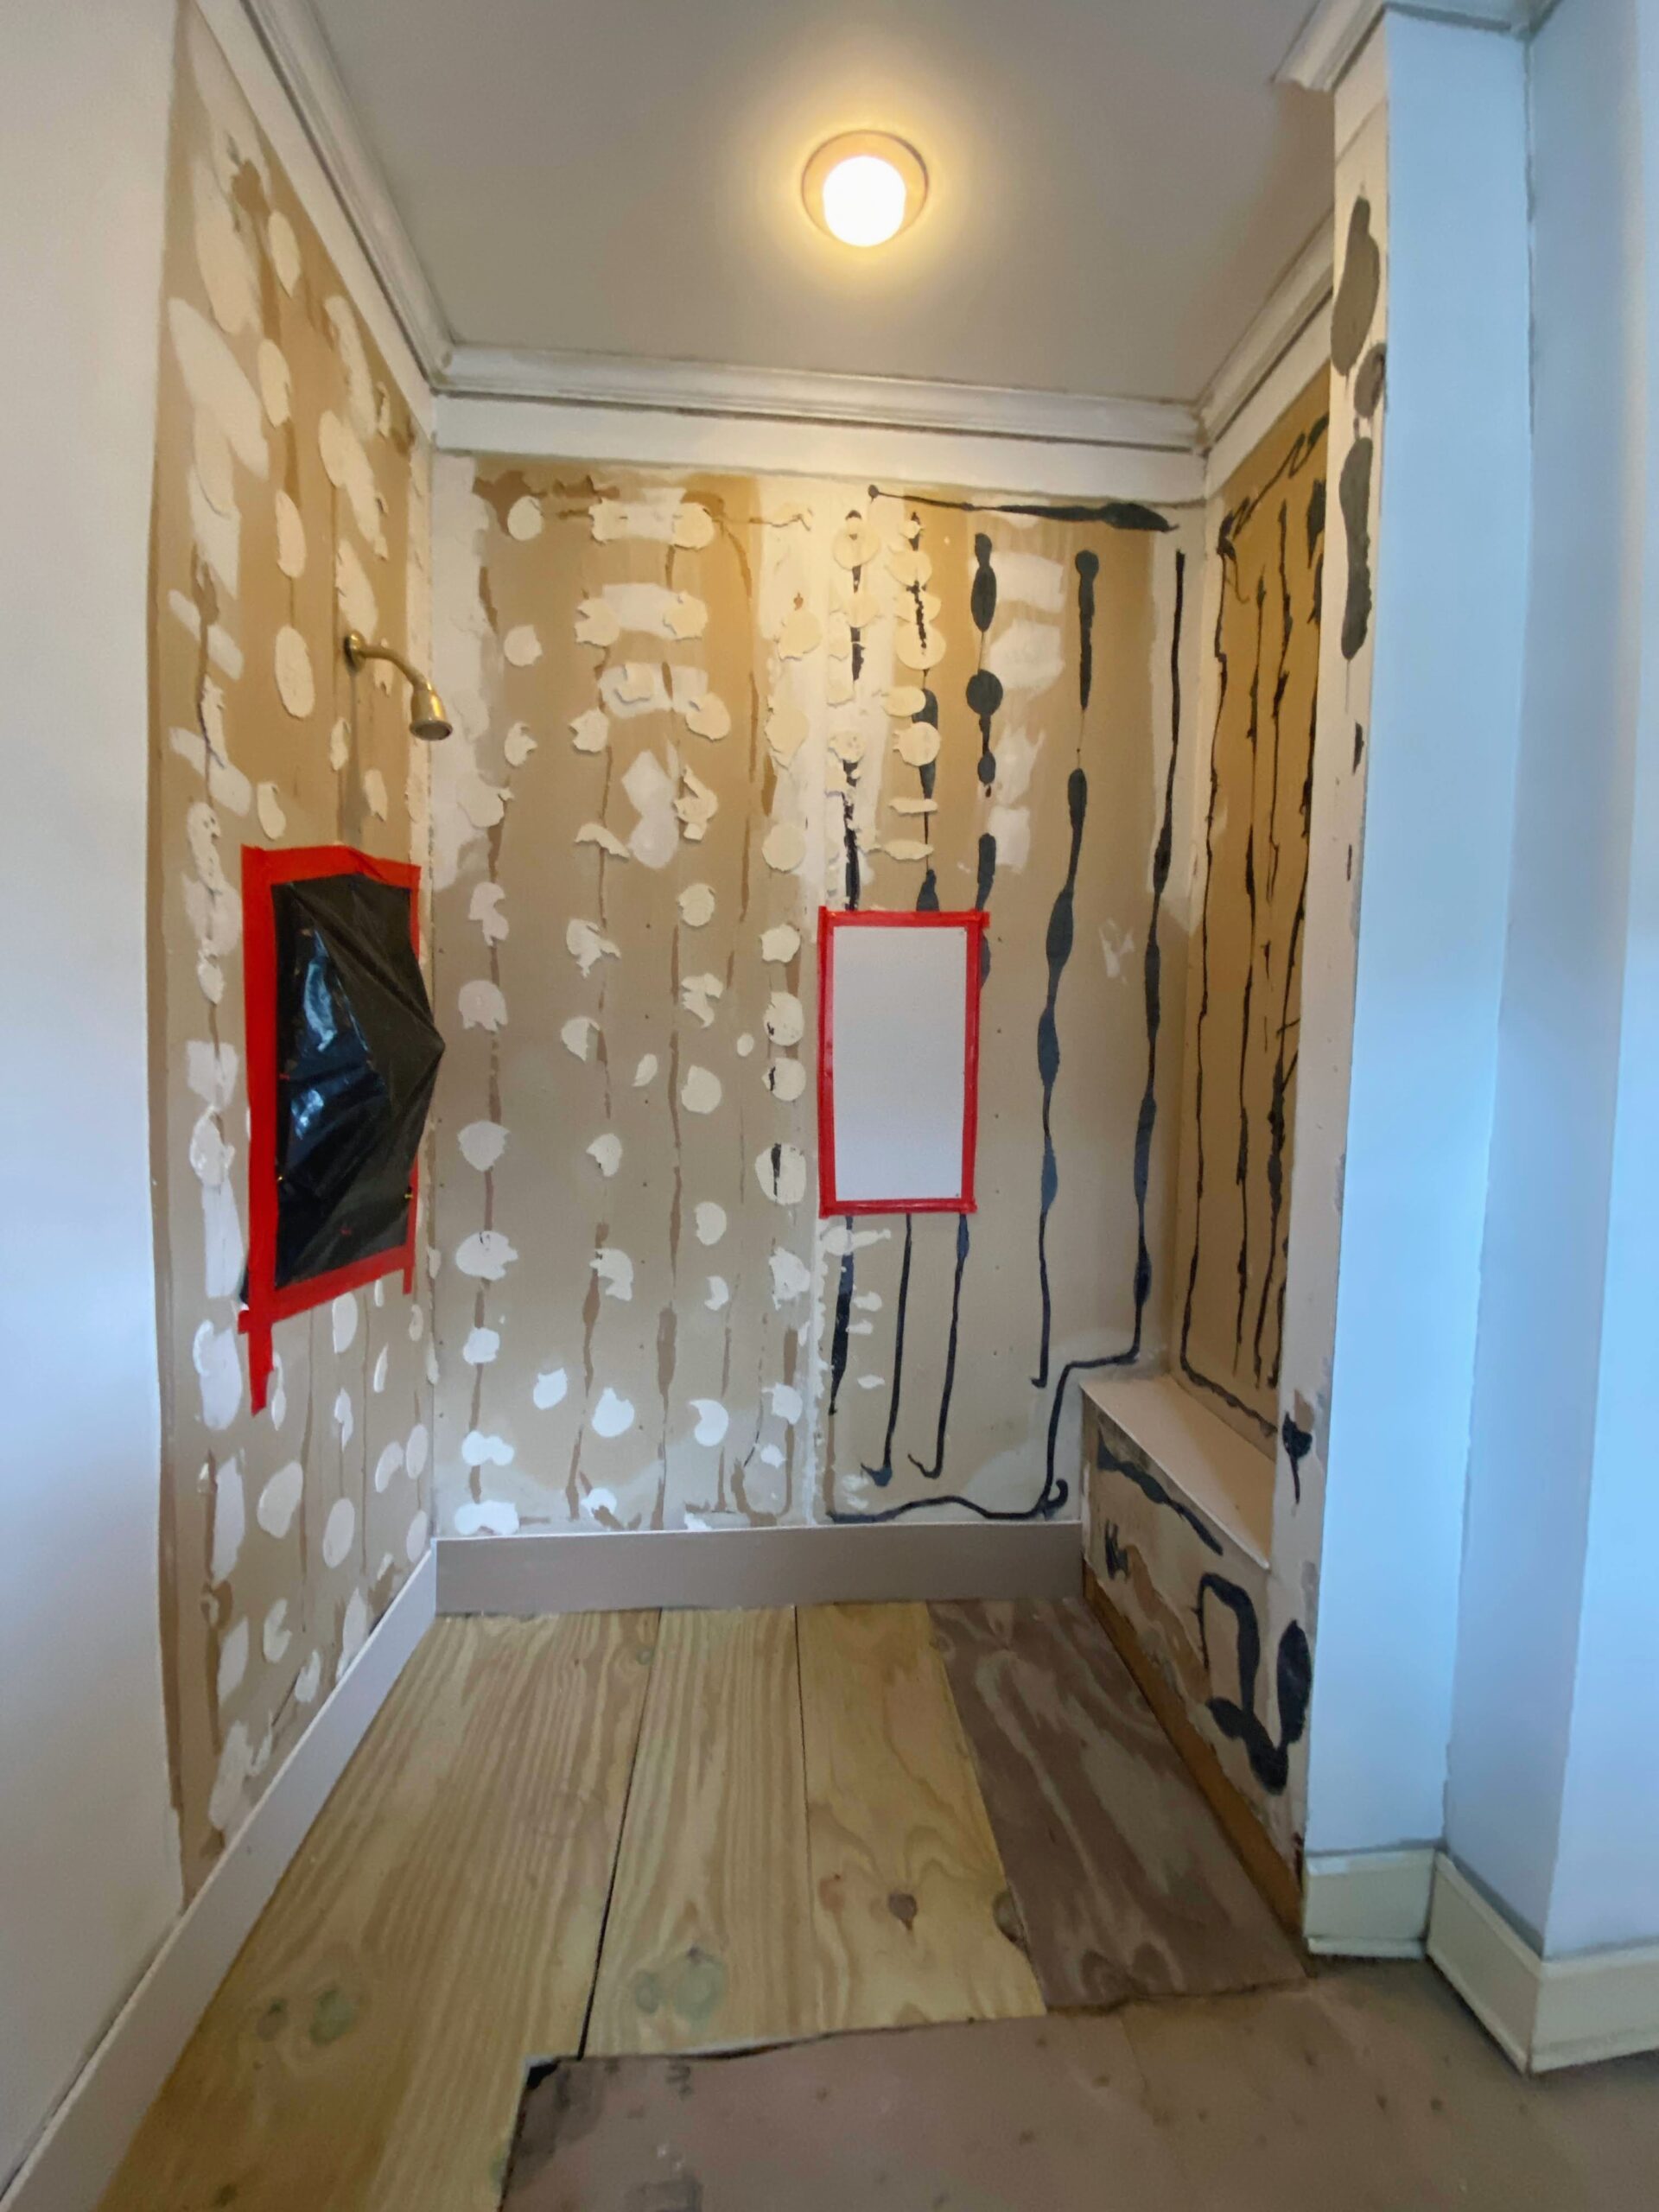
Shower After Demo
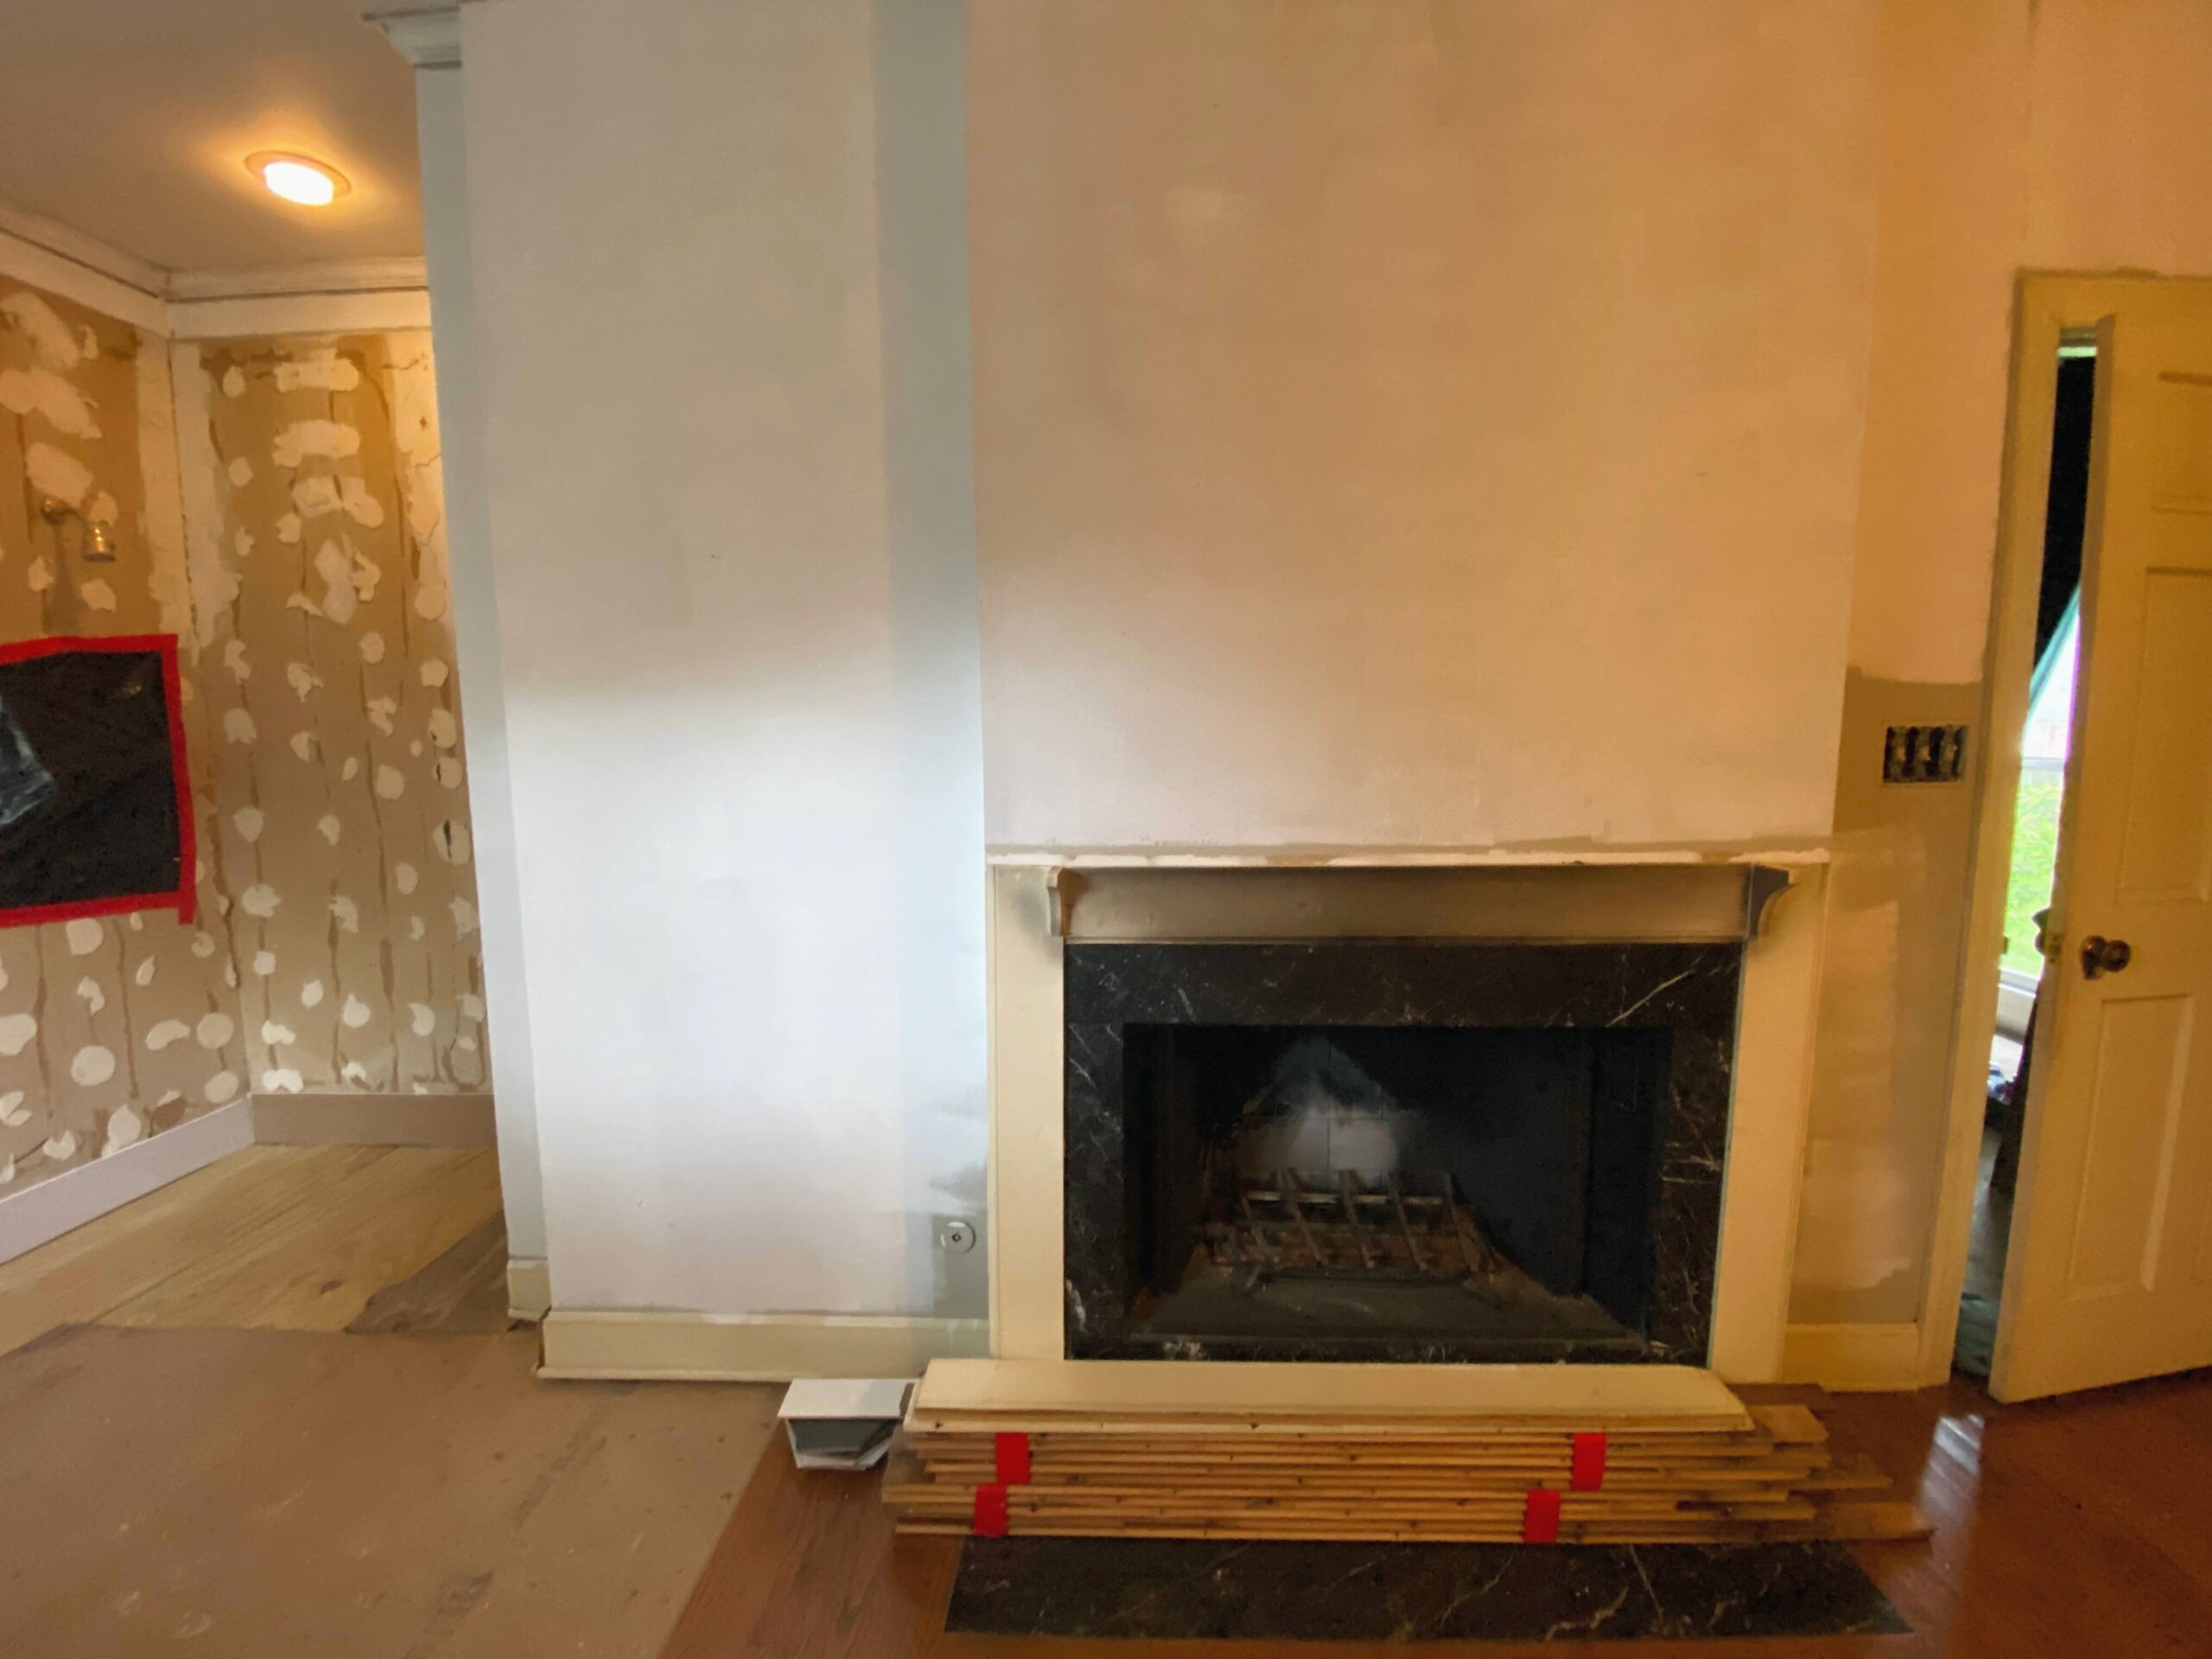
Here’s a better picture of the fireplace are in our master bathroom. Our home has 4 individual fireplaces – one in the master bathroom, master bedroom, living room, and the dining room. We have never used gas fireplace but wanted to beautify it. Since the black marble was in decent condition and tied in with the design style, we kept it. We’d use paint and have a new mantel commissioned to make it look great. This would also help our overall budget.
Now that the vanity, shower, and tub are demoed it was time to move on. It looked like things were moving rather quickly, but a new tub and shower fixtures meant it was time to get other professionals involved. More home professionals equals more time. The tub and vanity also were not on order yet. I was nervous about ordering just anything since it seemed like a big purchase. But after talking to the plumber, I was given the okay to order what I wanted. Lesson learned! The plumber was also able to help with a few other items in the space which I’ll talk about in my next bathroom update.
See the master bathroom design in this postmaster bathroom design in this post!

Pingback:
Master Bathroom: Part 2 - Crystal Holliday with The Holliday Collective