As I mentioned in the previous post, we had a few trips planned, so the majority of the project was stalled. However, I did order a freestanding tub from Wayfair. I searched online and read lots of reviews to find the best option. There are different sizes, overflow options, colors, etc. I decided that a tub that was white (best pricing), 67” long (standard), and an oil rubbed bronze drain was the best option. This tub would be small compared to the big jacuzzi we previously had but still sufficient space for soaking. Most days we are “shower people” but it’s always nice to have a tub to soak in.
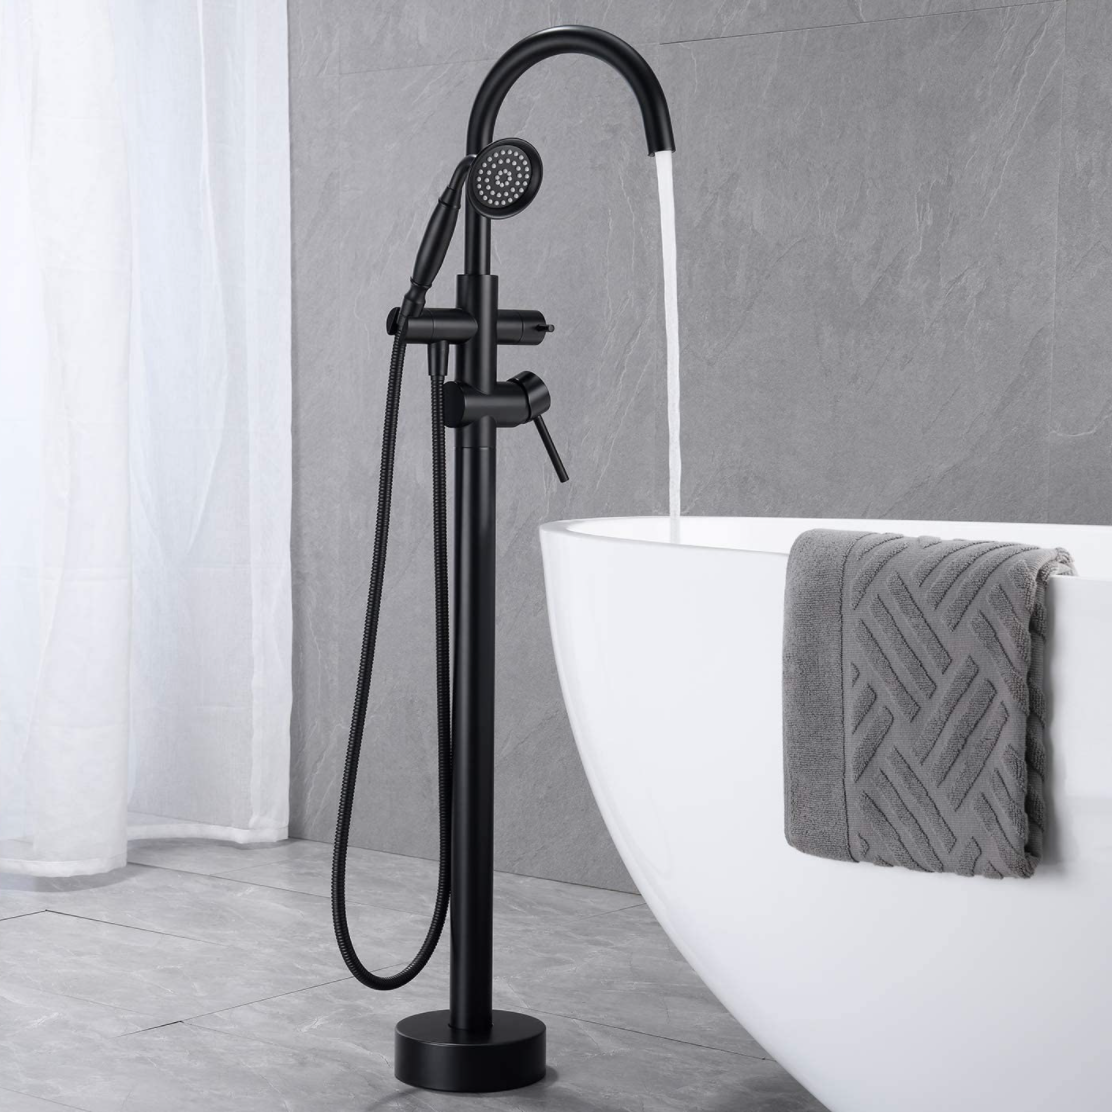
Tub fillers are expensive but I was sold on the look of them. So I searched Amazon for an option that was budget friendly and had decent reviews. The tub filler I found also was in stock so it would take less than a week to arrive. This would work great with our timeline. Actually, when we were out of town for a trip, the tub and filler were delivered. It was a huge box and thankfully a family member was able to get it inside our home. It would end up staying in the box for many weeks while we worked on the wet bar project.
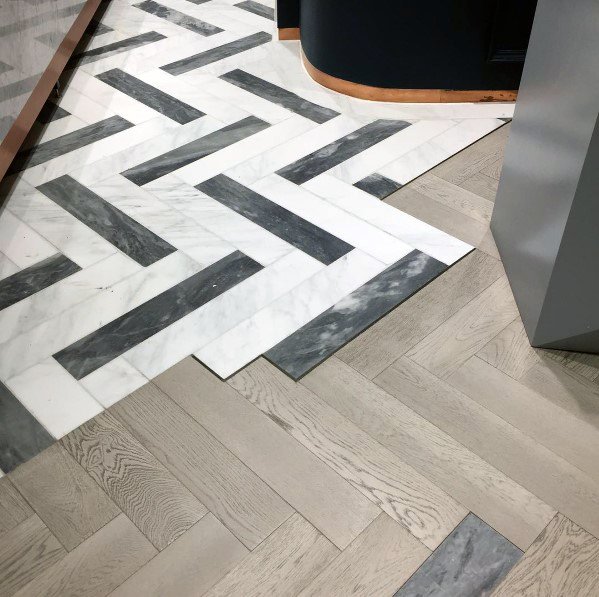
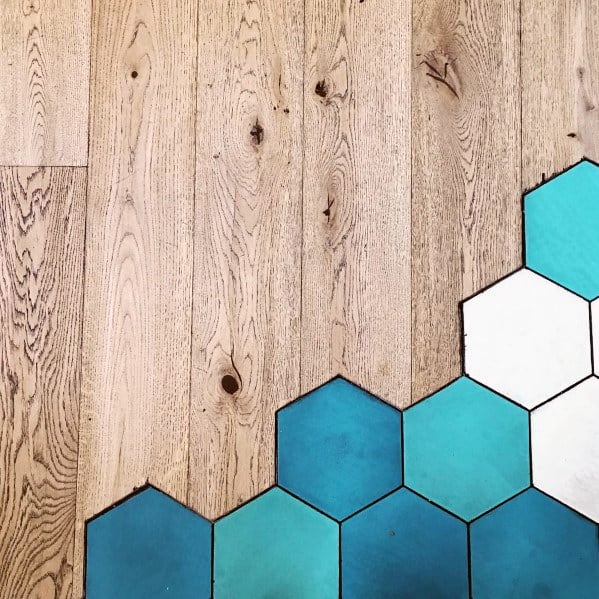
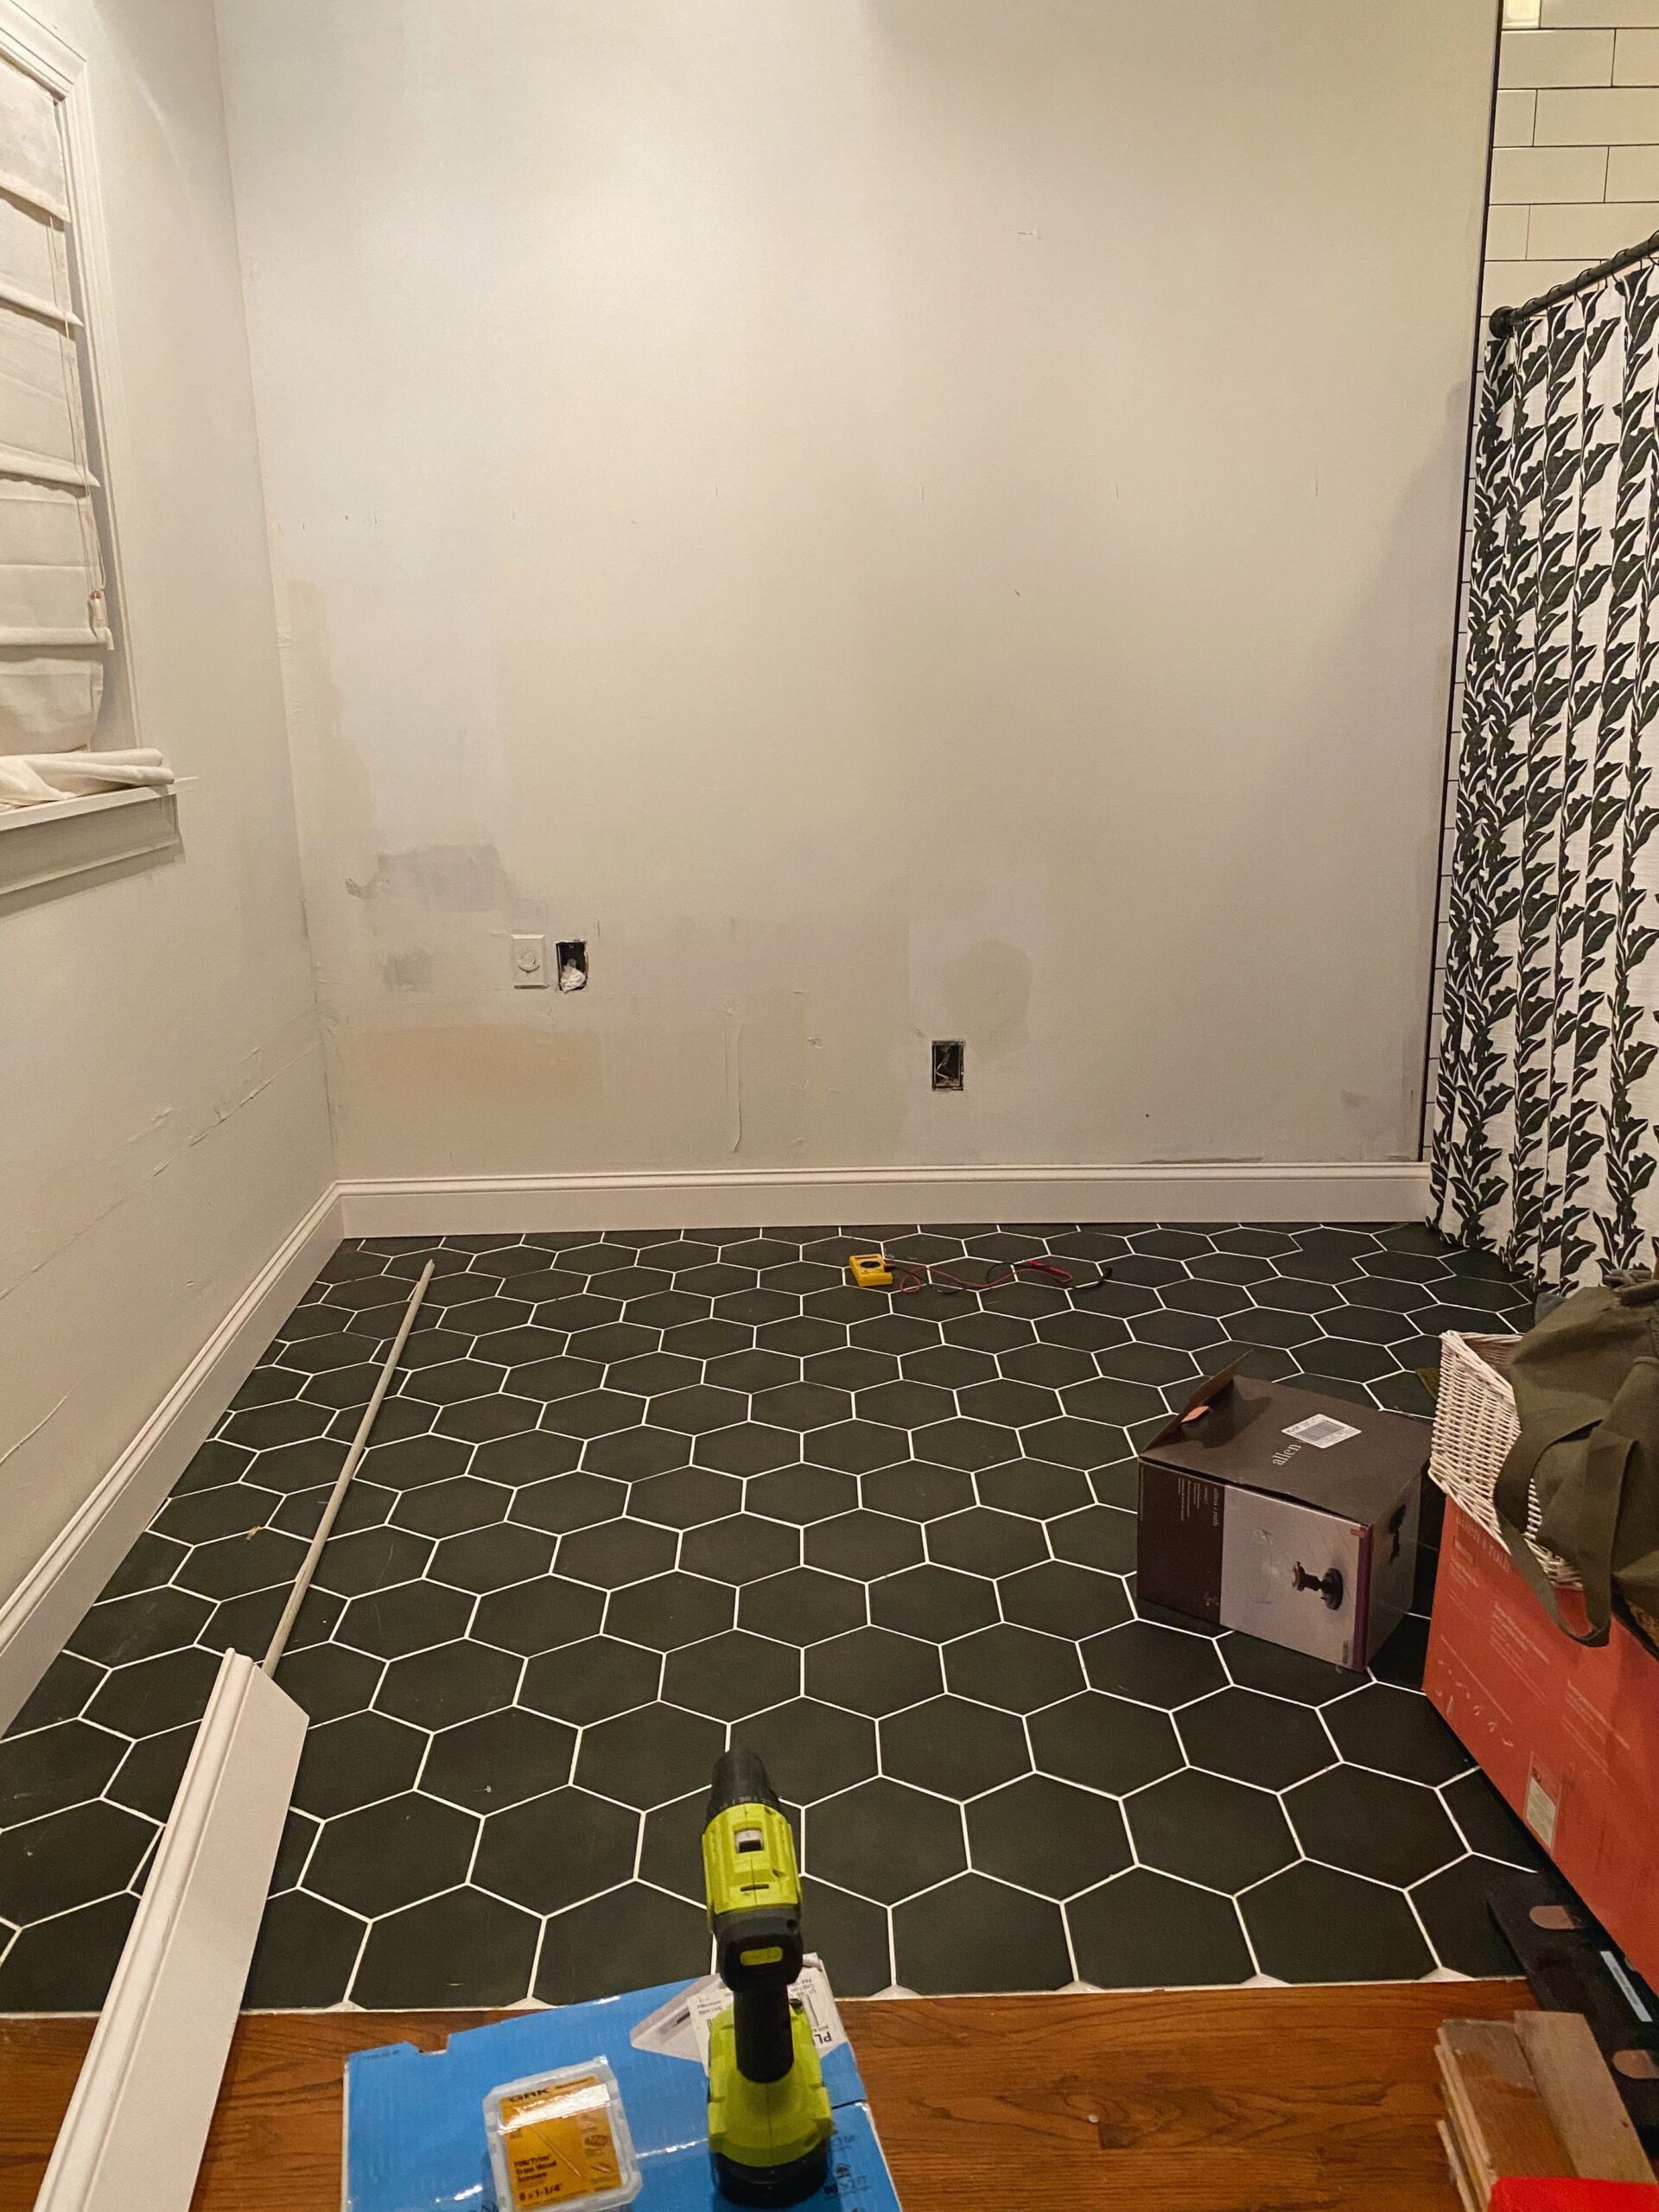
In my last bathroom update, I mentioned that the bathroom project as a whole had stalled. While we were away on vacation (we went to Nashville and Atlanta) there was a small development in our bathroom project. Our carpenter came to start the hexagon flooring in the “wet area”, which was the freestanding tub/shower area. Since we didn’t have the budget to do all the design elements I wanted, being able to work in the hexagon flooring was so exciting! Again, we decided to incorporate a mixed flooring look that would salvage some of the original wood floors and incorporate new hexagon ceramic tile. Here’s some mixed wood flooring inspiration.
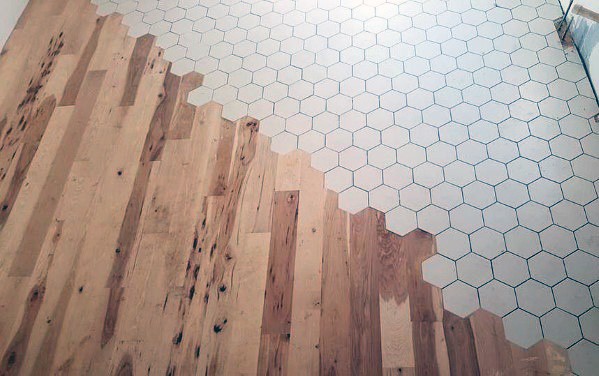
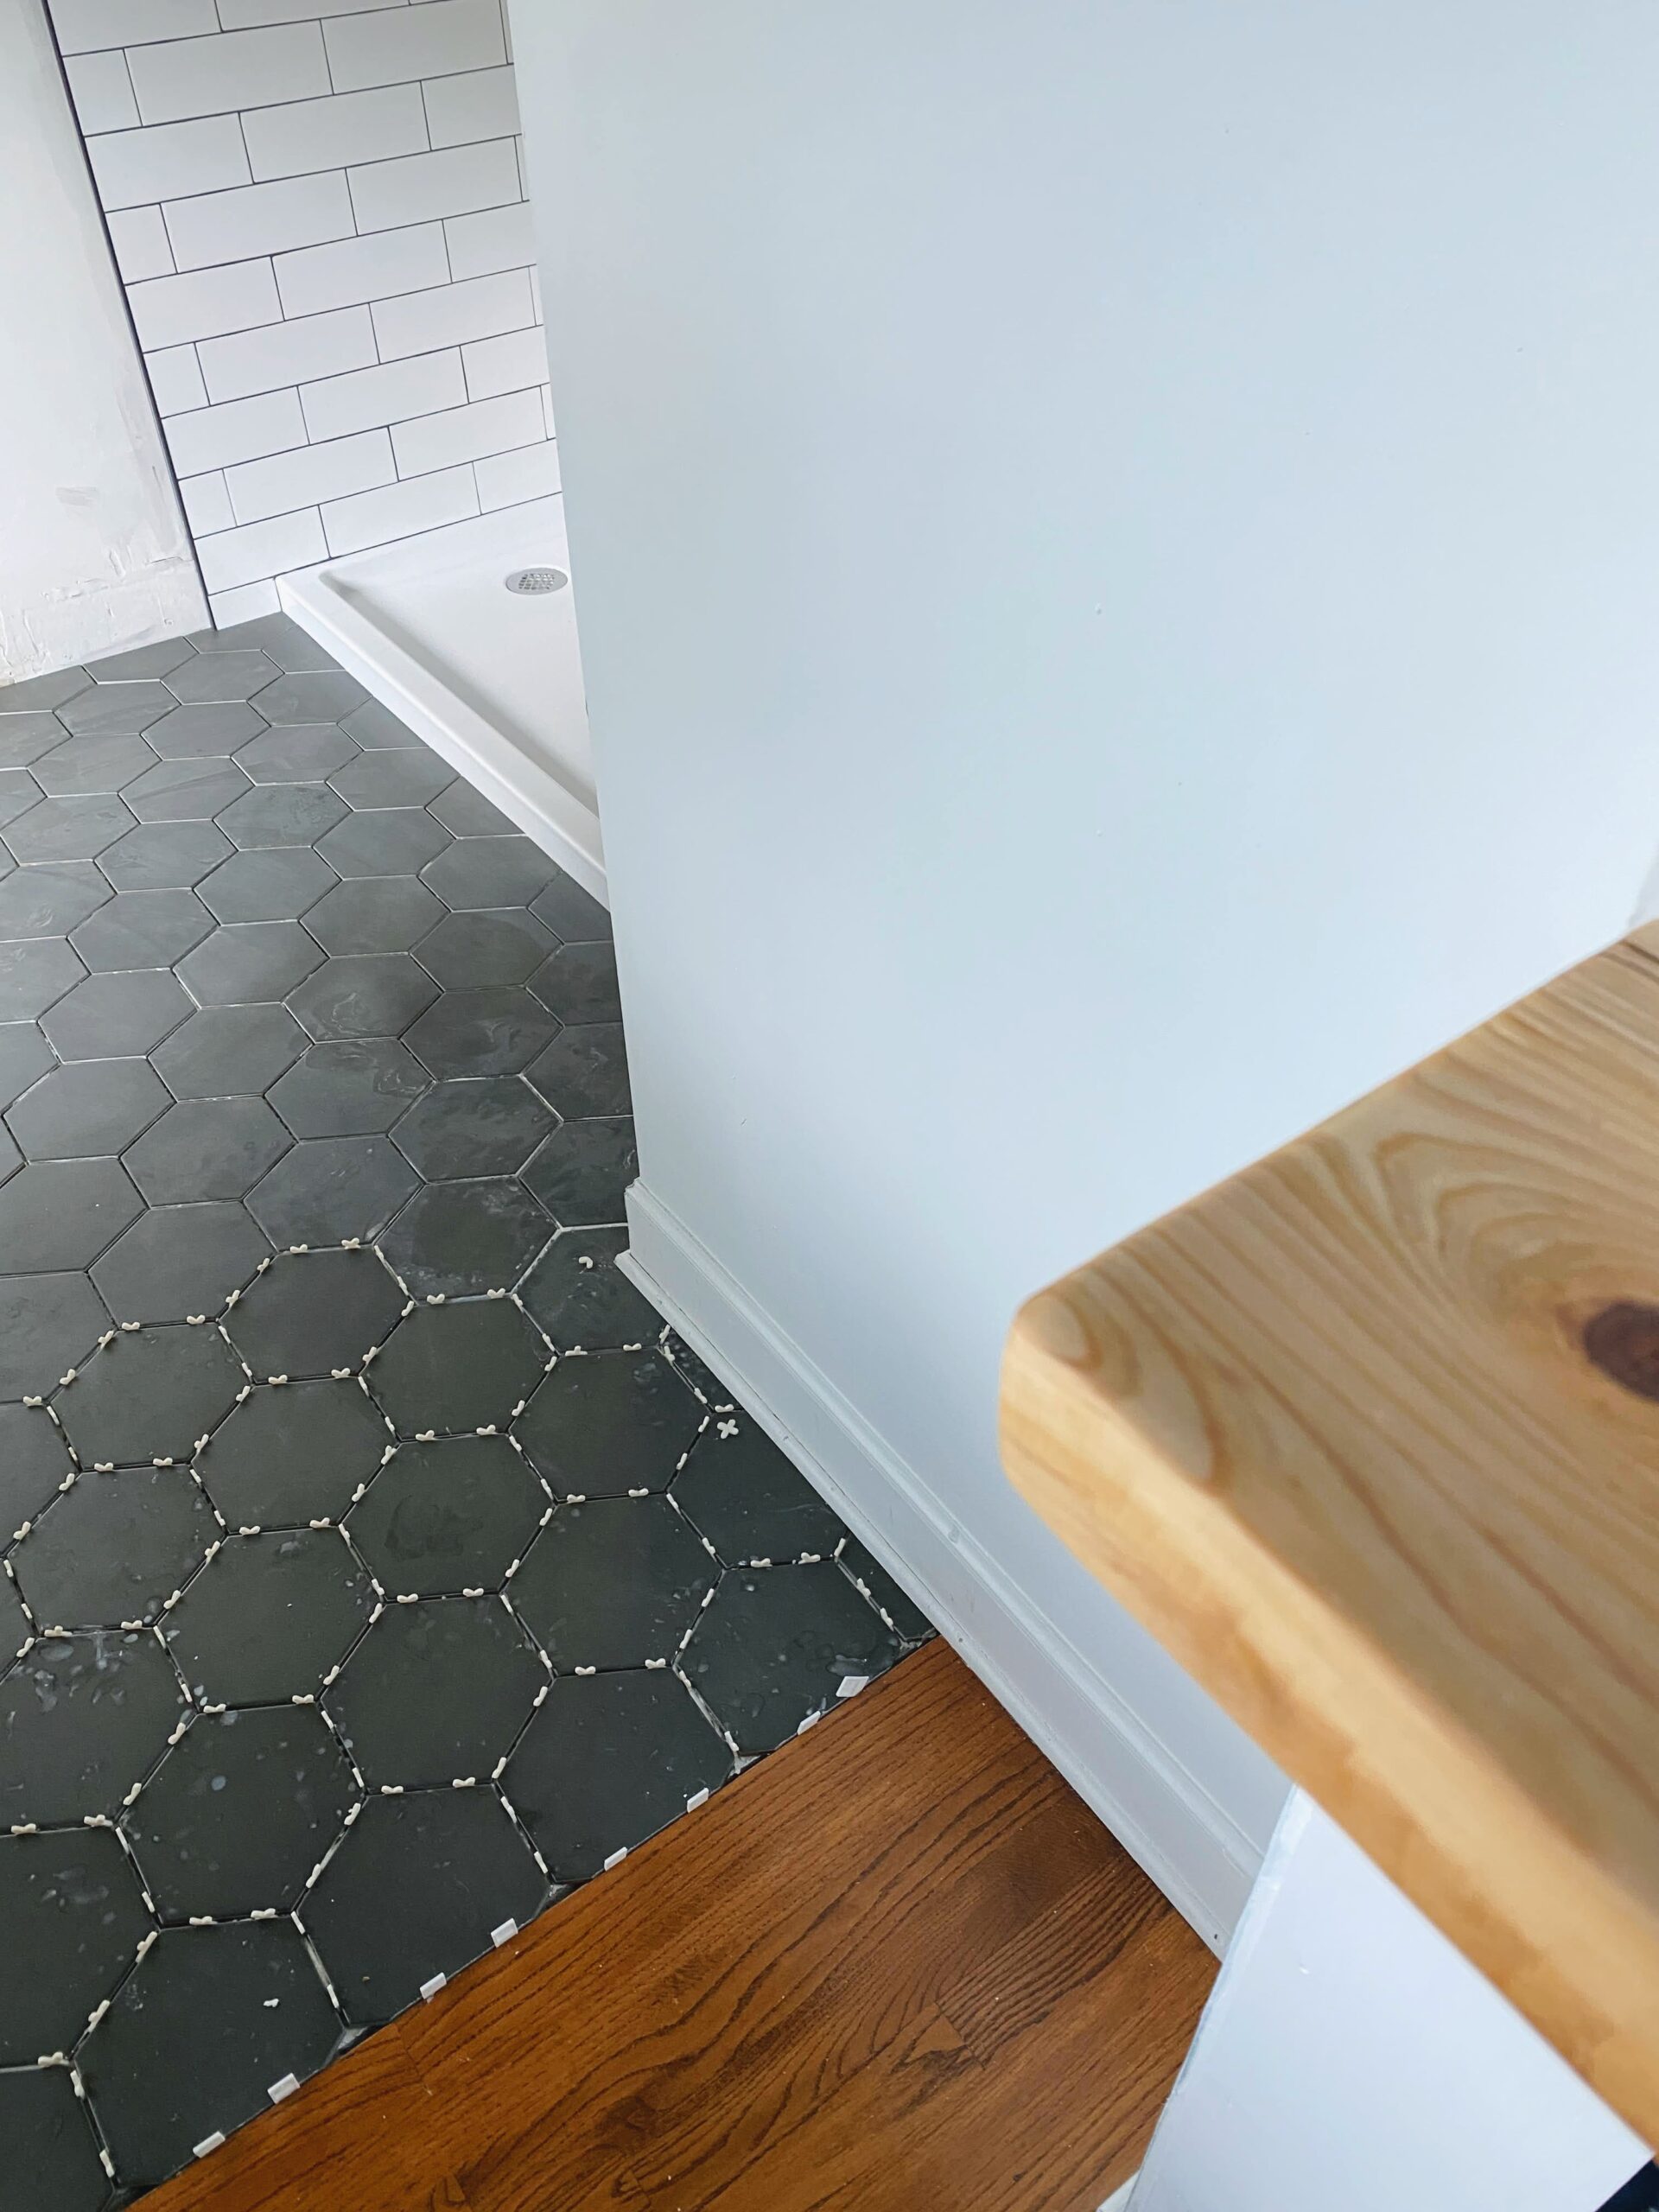
Because the flooring installation went by pretty fast and I wanted to stay out the way, I didn’t get many in-process shots. To give a contrast, I decided on white grout. In the shower, we went with white tile and black grout, so I felt that the flooring need a grout contrast too. I’m very pleased with how the white pops against the black flooring. It ties in well with the overall theme of the space too. The tub was not even installed yet, but I was already dreaming about the freestanding tub being installed. Hot bath soaks here I come!
Mixed Wood Flooring
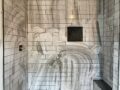
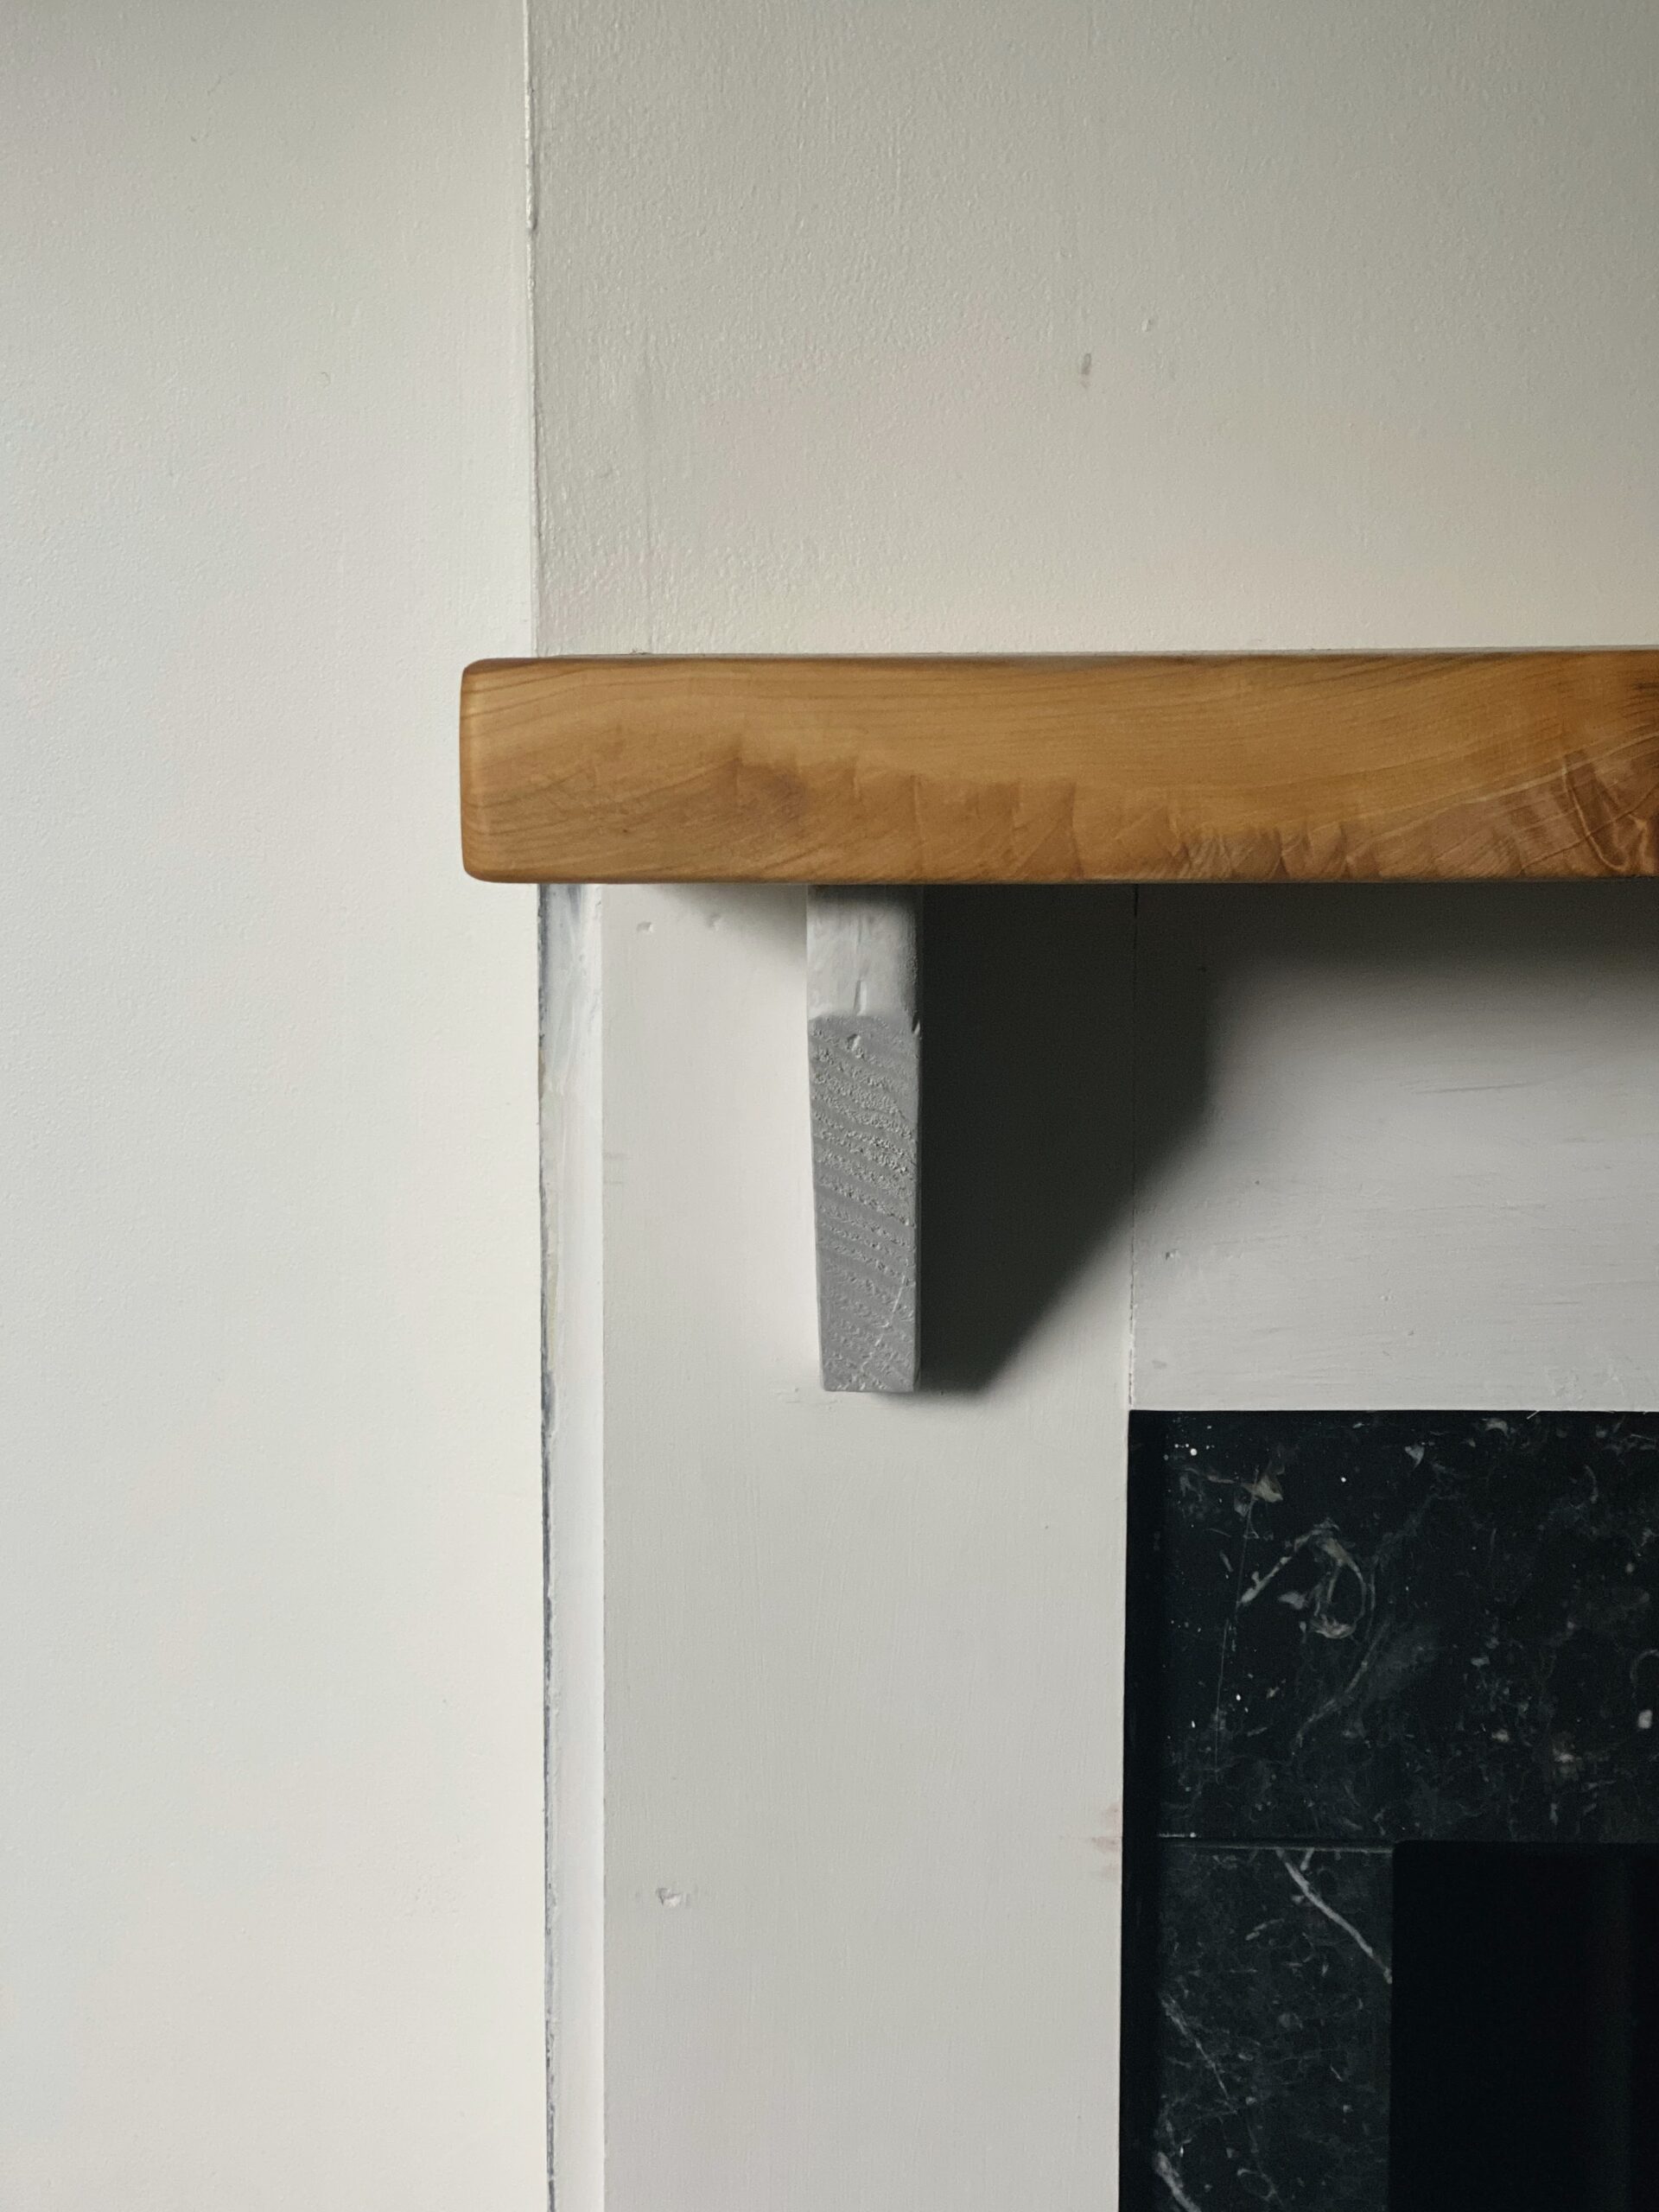
Another update, while we were away, was a beautiful piece of cypress wood on the mantel. If you remember, the master bathroom has a gas fireplace. We made the decision to salvage the black marble surround, paint, and add a new mantel. The wood that was used for the mantel adds instant character and is perfect! I couldn’t be happier about the color and thickness of the new mantel. I was ready to decorate the fireplace once the new mantel was installed too.
At this point in the project, we were in late July. I knew that there were several DIY tasks we needed to complete like an accent wall for the tub area, lot of painting, etc. Brandon was not comfortable with updating all the lighting in the bathroom, so I needed to find an electrician. Once the accent wall was complete, we’d need to get the plumber back to install the tub and tub filler. The bathroom was more than halfway complete so it felt like we could still finish in a suitable amount of time. However, the bathroom project slowed down even more after July. Find out why in the next update.
Are you enjoying these bathroom updates? Let me know.