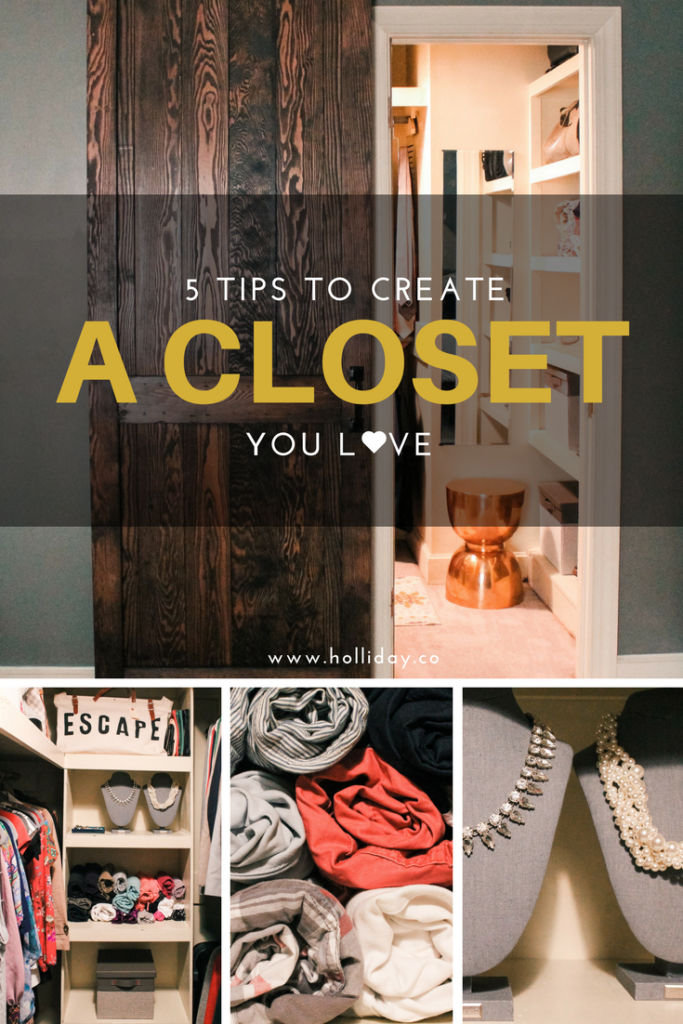
A new year is underway and it’s a perfect time to get some organizing done. I was super excited about participating in the #10daysoforganizing blogger collaboration. This gave me a deadline to fully organize one space in my home and share it on my blog. Perfect motivation! I decided the master bedroom closet could use the most help. In the process, I’ve come up with 5 tips to create a closet you love. Follow these steps to create a closet space that inspires you everyday.
1. Remove all items.
When I say, remove all items, I mean, TAKE EVERYTHING OUT. It’s important that the closet is emptied at the beginning of this project for a couple of reasons. One reason is so that you can clean everything. Let’s be honest. When was the last time you cleaned the shelving in your closet? If you have carpet, when is the last time you vacuumed really well or even swept the dust out of the corners? It’s possible that you haven’t done this in a while, so by taking everything out you can clean everything properly.
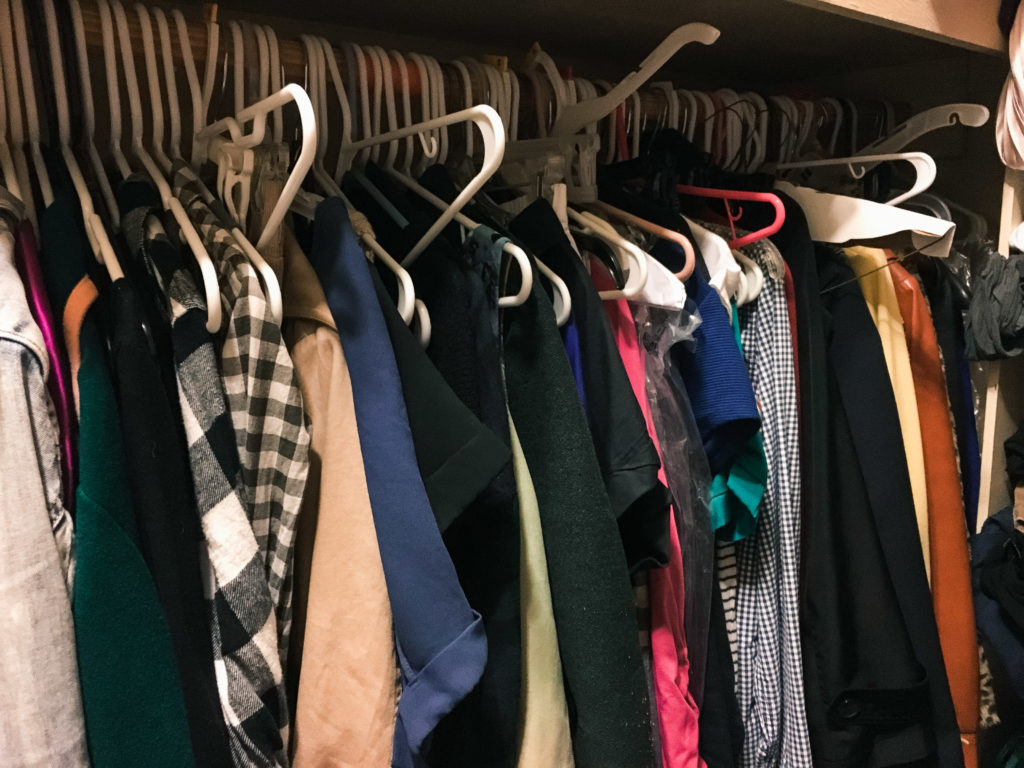
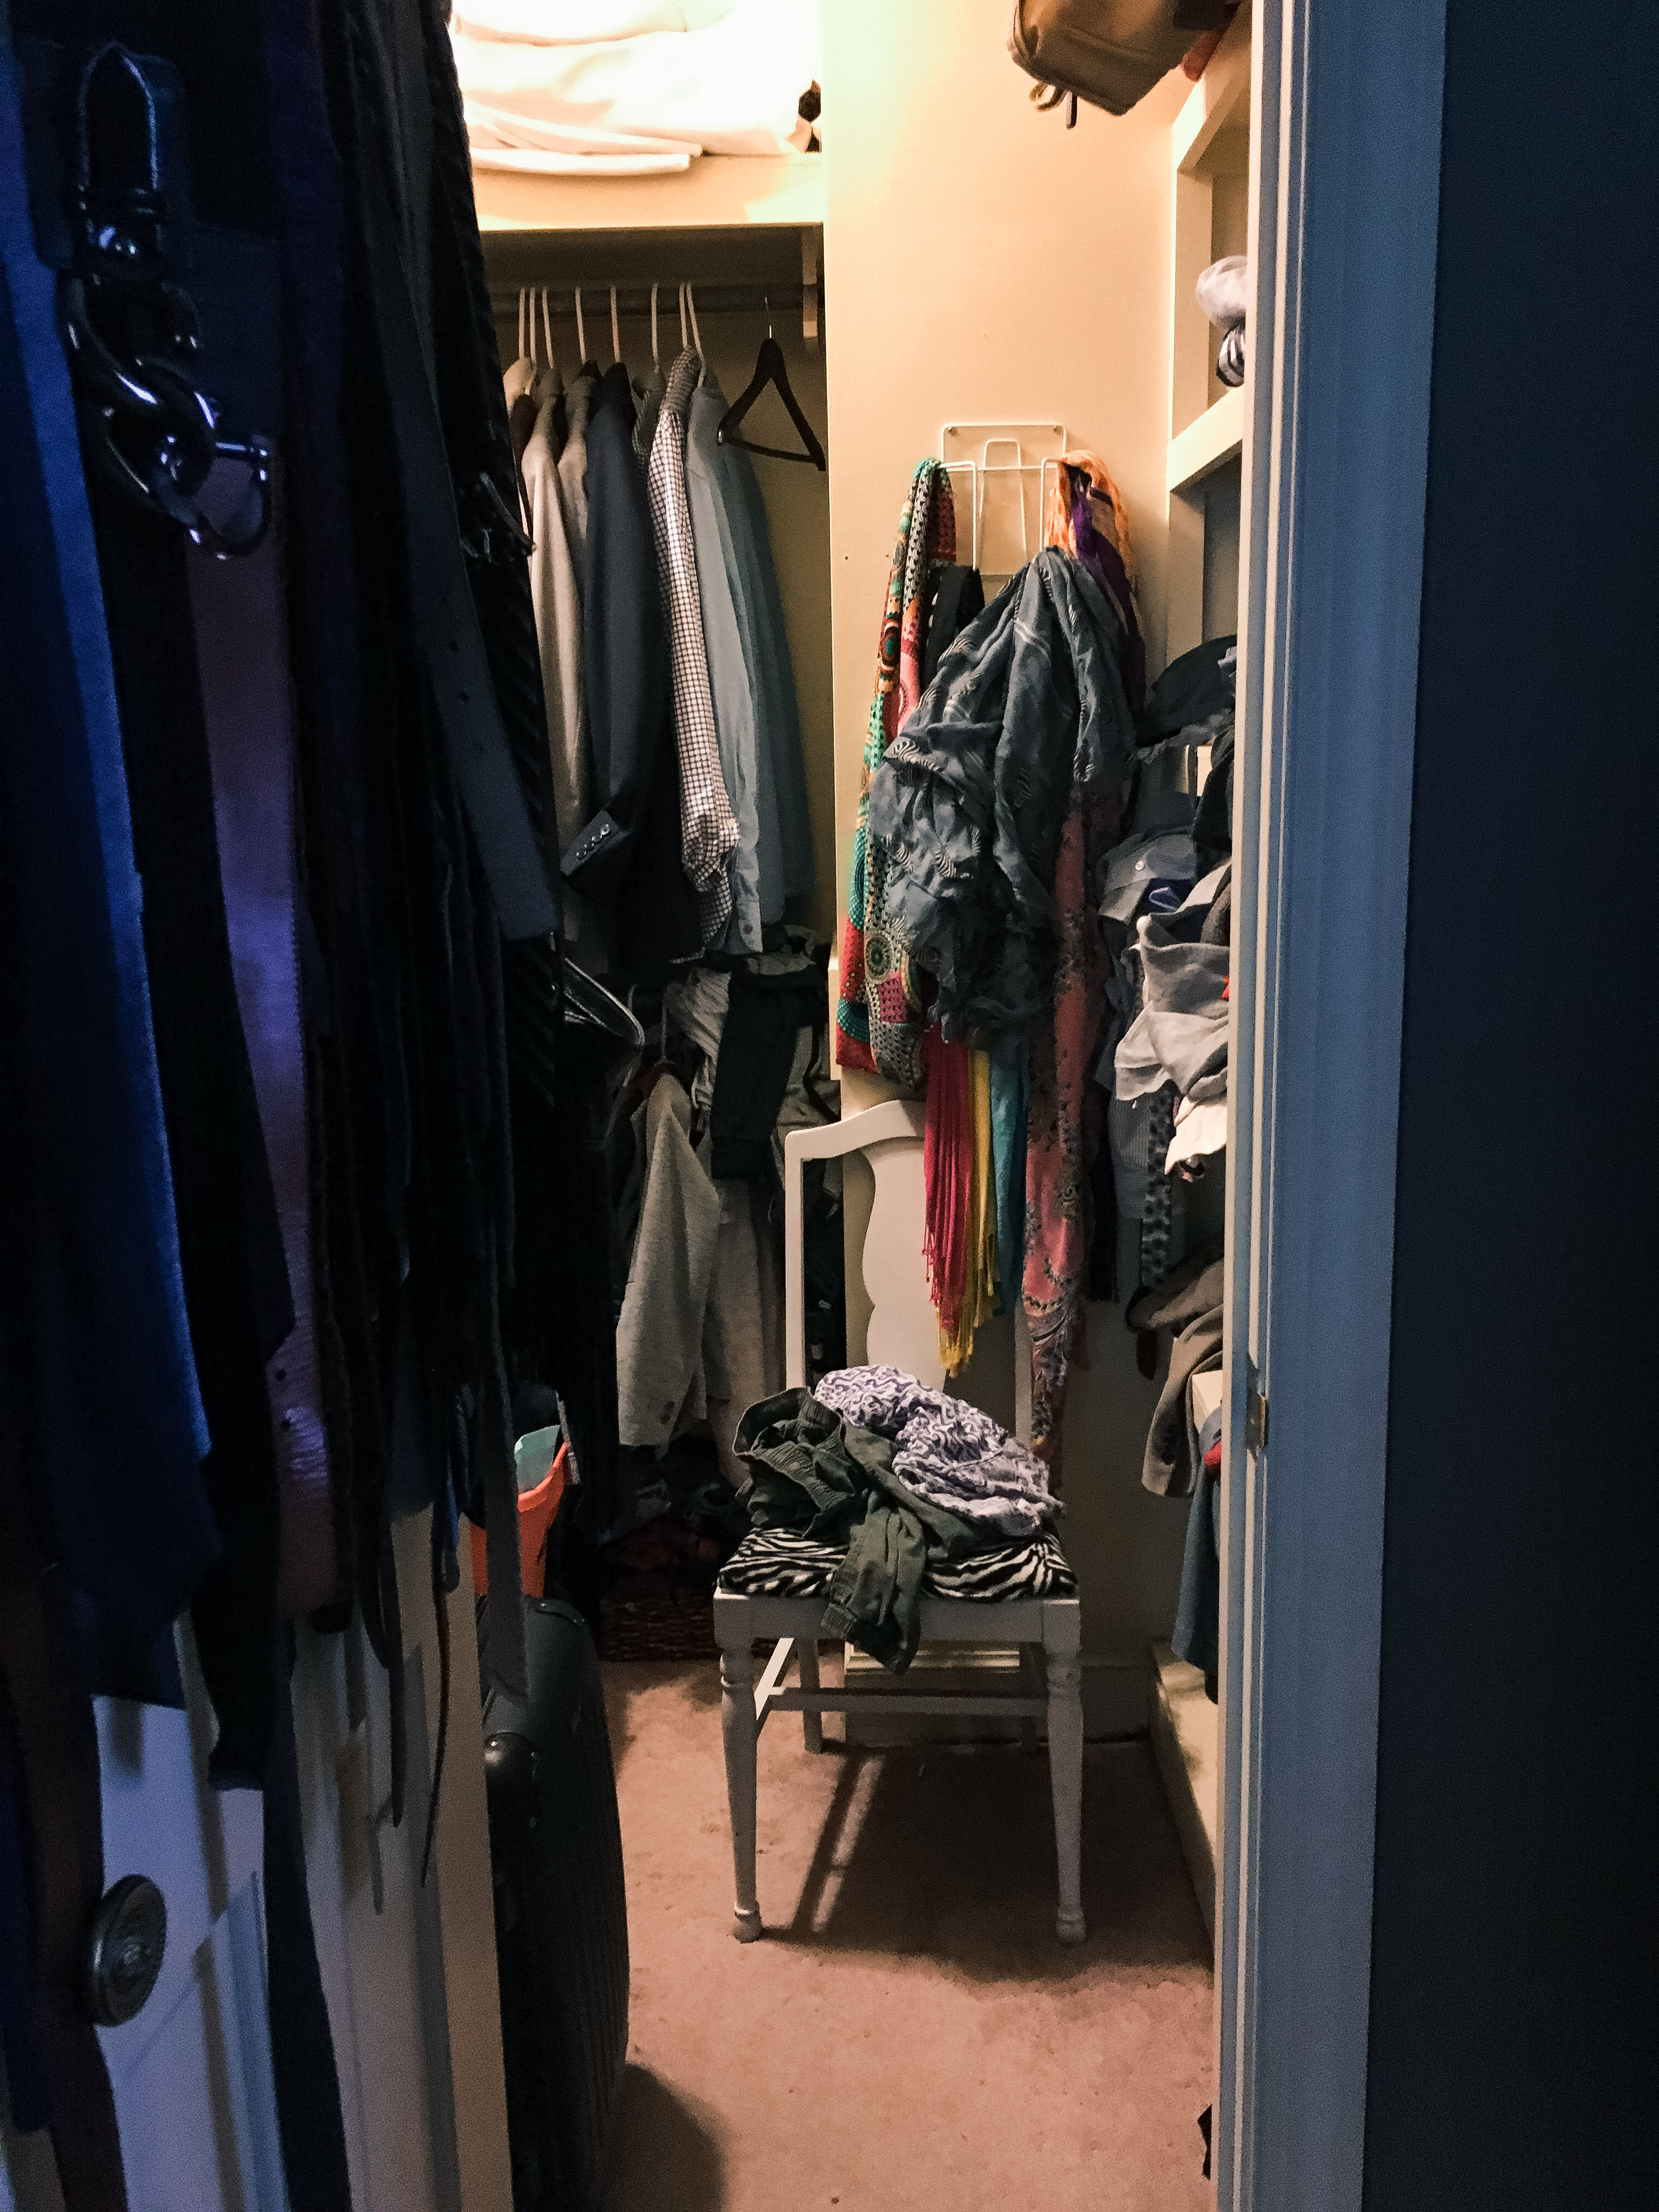
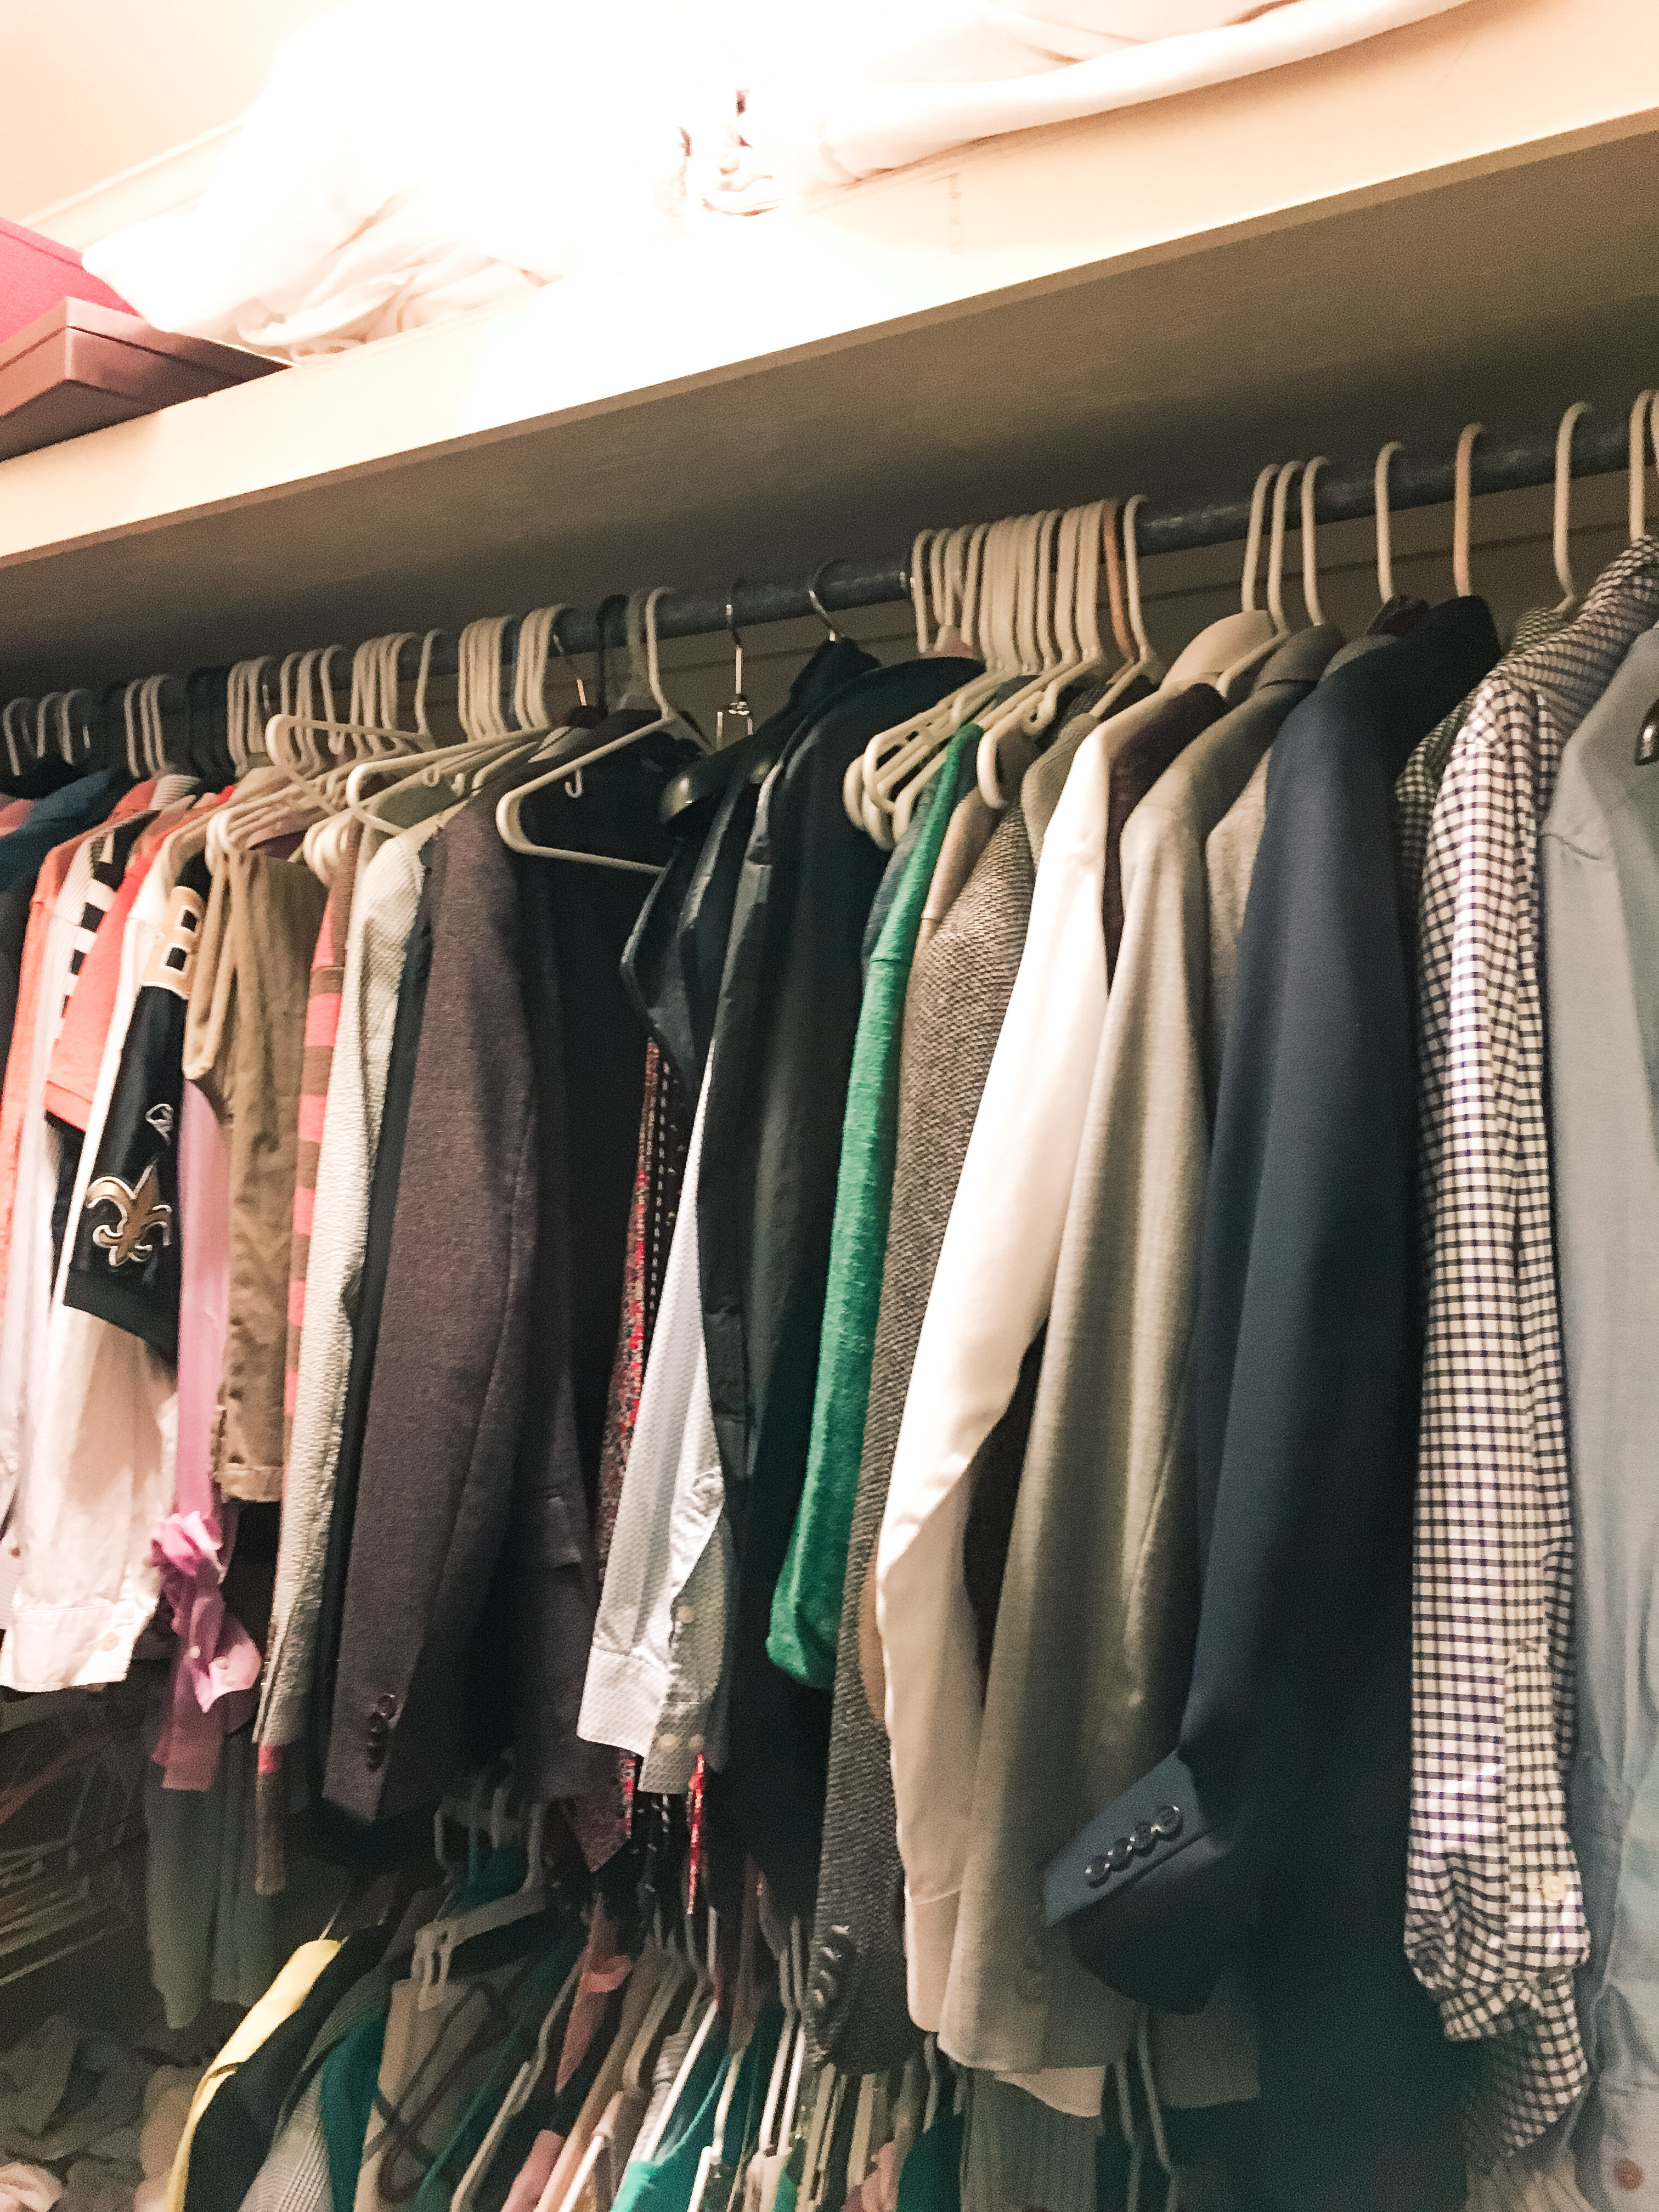
Closet Before
Another reason to take all items out of the closet is so that you can see what you had in the closet. Some of the random items in my closet were loose change, broken hangers, thrifted lamps, old lip gloss in purses not in use, etc. In addition, there were a ton of clothes that I hadn’t worn in a long time…bridesmaid dresses, maternity shirts, and clothing that didn’t fit properly anymore. By having everything out of the space, I could plan out what needed to go back in and what didn’t.
Closet After Everything is Taken Out
2. Go through all clothes/closet items and separate according to what you’ll keep, what needs to be donated, and what’s trash.
This step saved my closet! I rid my closet of approximately 80% of my wardrobe. Seriously! I filled up 6 trash bags worth of clothes and other miscellaneous items. I also filled a trash bag with items that I no longer wanted but maybe weren’t suitable to be donated. I set up piles according to this system and it worked for me. I’d encourage you carefully select items that will go back into the closet.
Don’t hold onto clothes that you might fit again one day. When that day comes, buy new clothes. The only items that I won’t be wearing again, but I still kept, were my wedding day items. Those items are special and should be kept. Definitely keep sentimental items, but be careful not to keep items “just in case.” My wardrobe has become very minimal now because of letting go of things I’ll never wear again. In order to create a closet you love, you must do this as well.

Everything out of the closet
3. Put some love in it.
It’s important that you put a little love into your closet. This step is all about beautifying the space. This will all depend on the amount of space you have. If possible, update the lighting, paint the walls and/or paint the ceiling, update closet doors, add a rug or a stool, etc. Get as creative as you want to here because this is all about you feeling refreshed when you’re in the space.
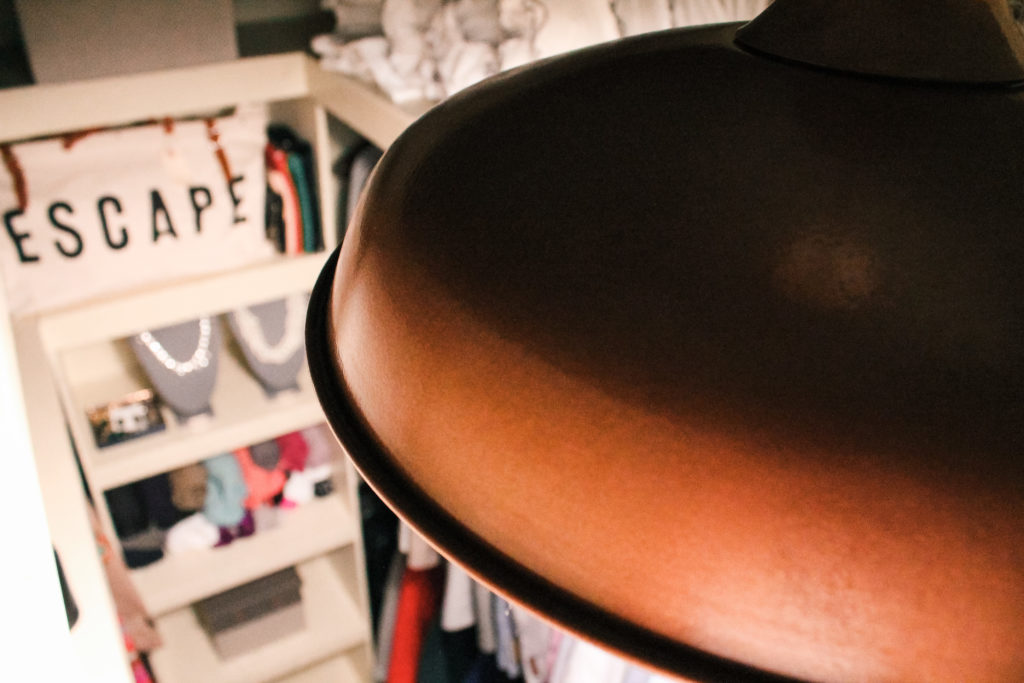
Copper Light Fixture
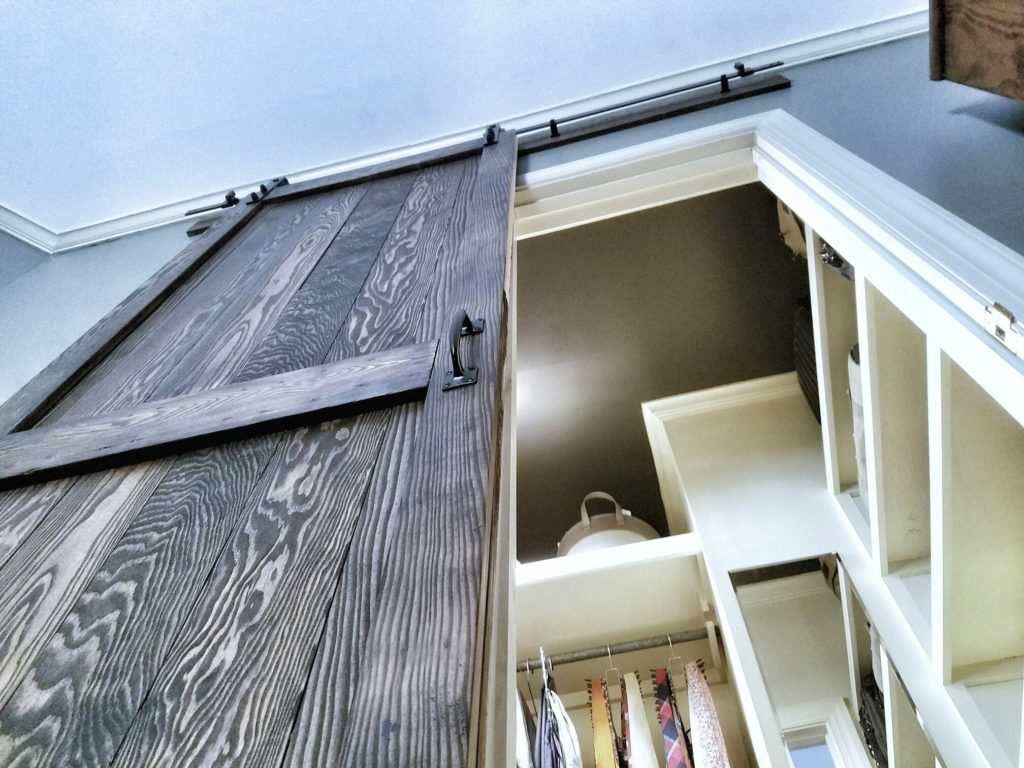
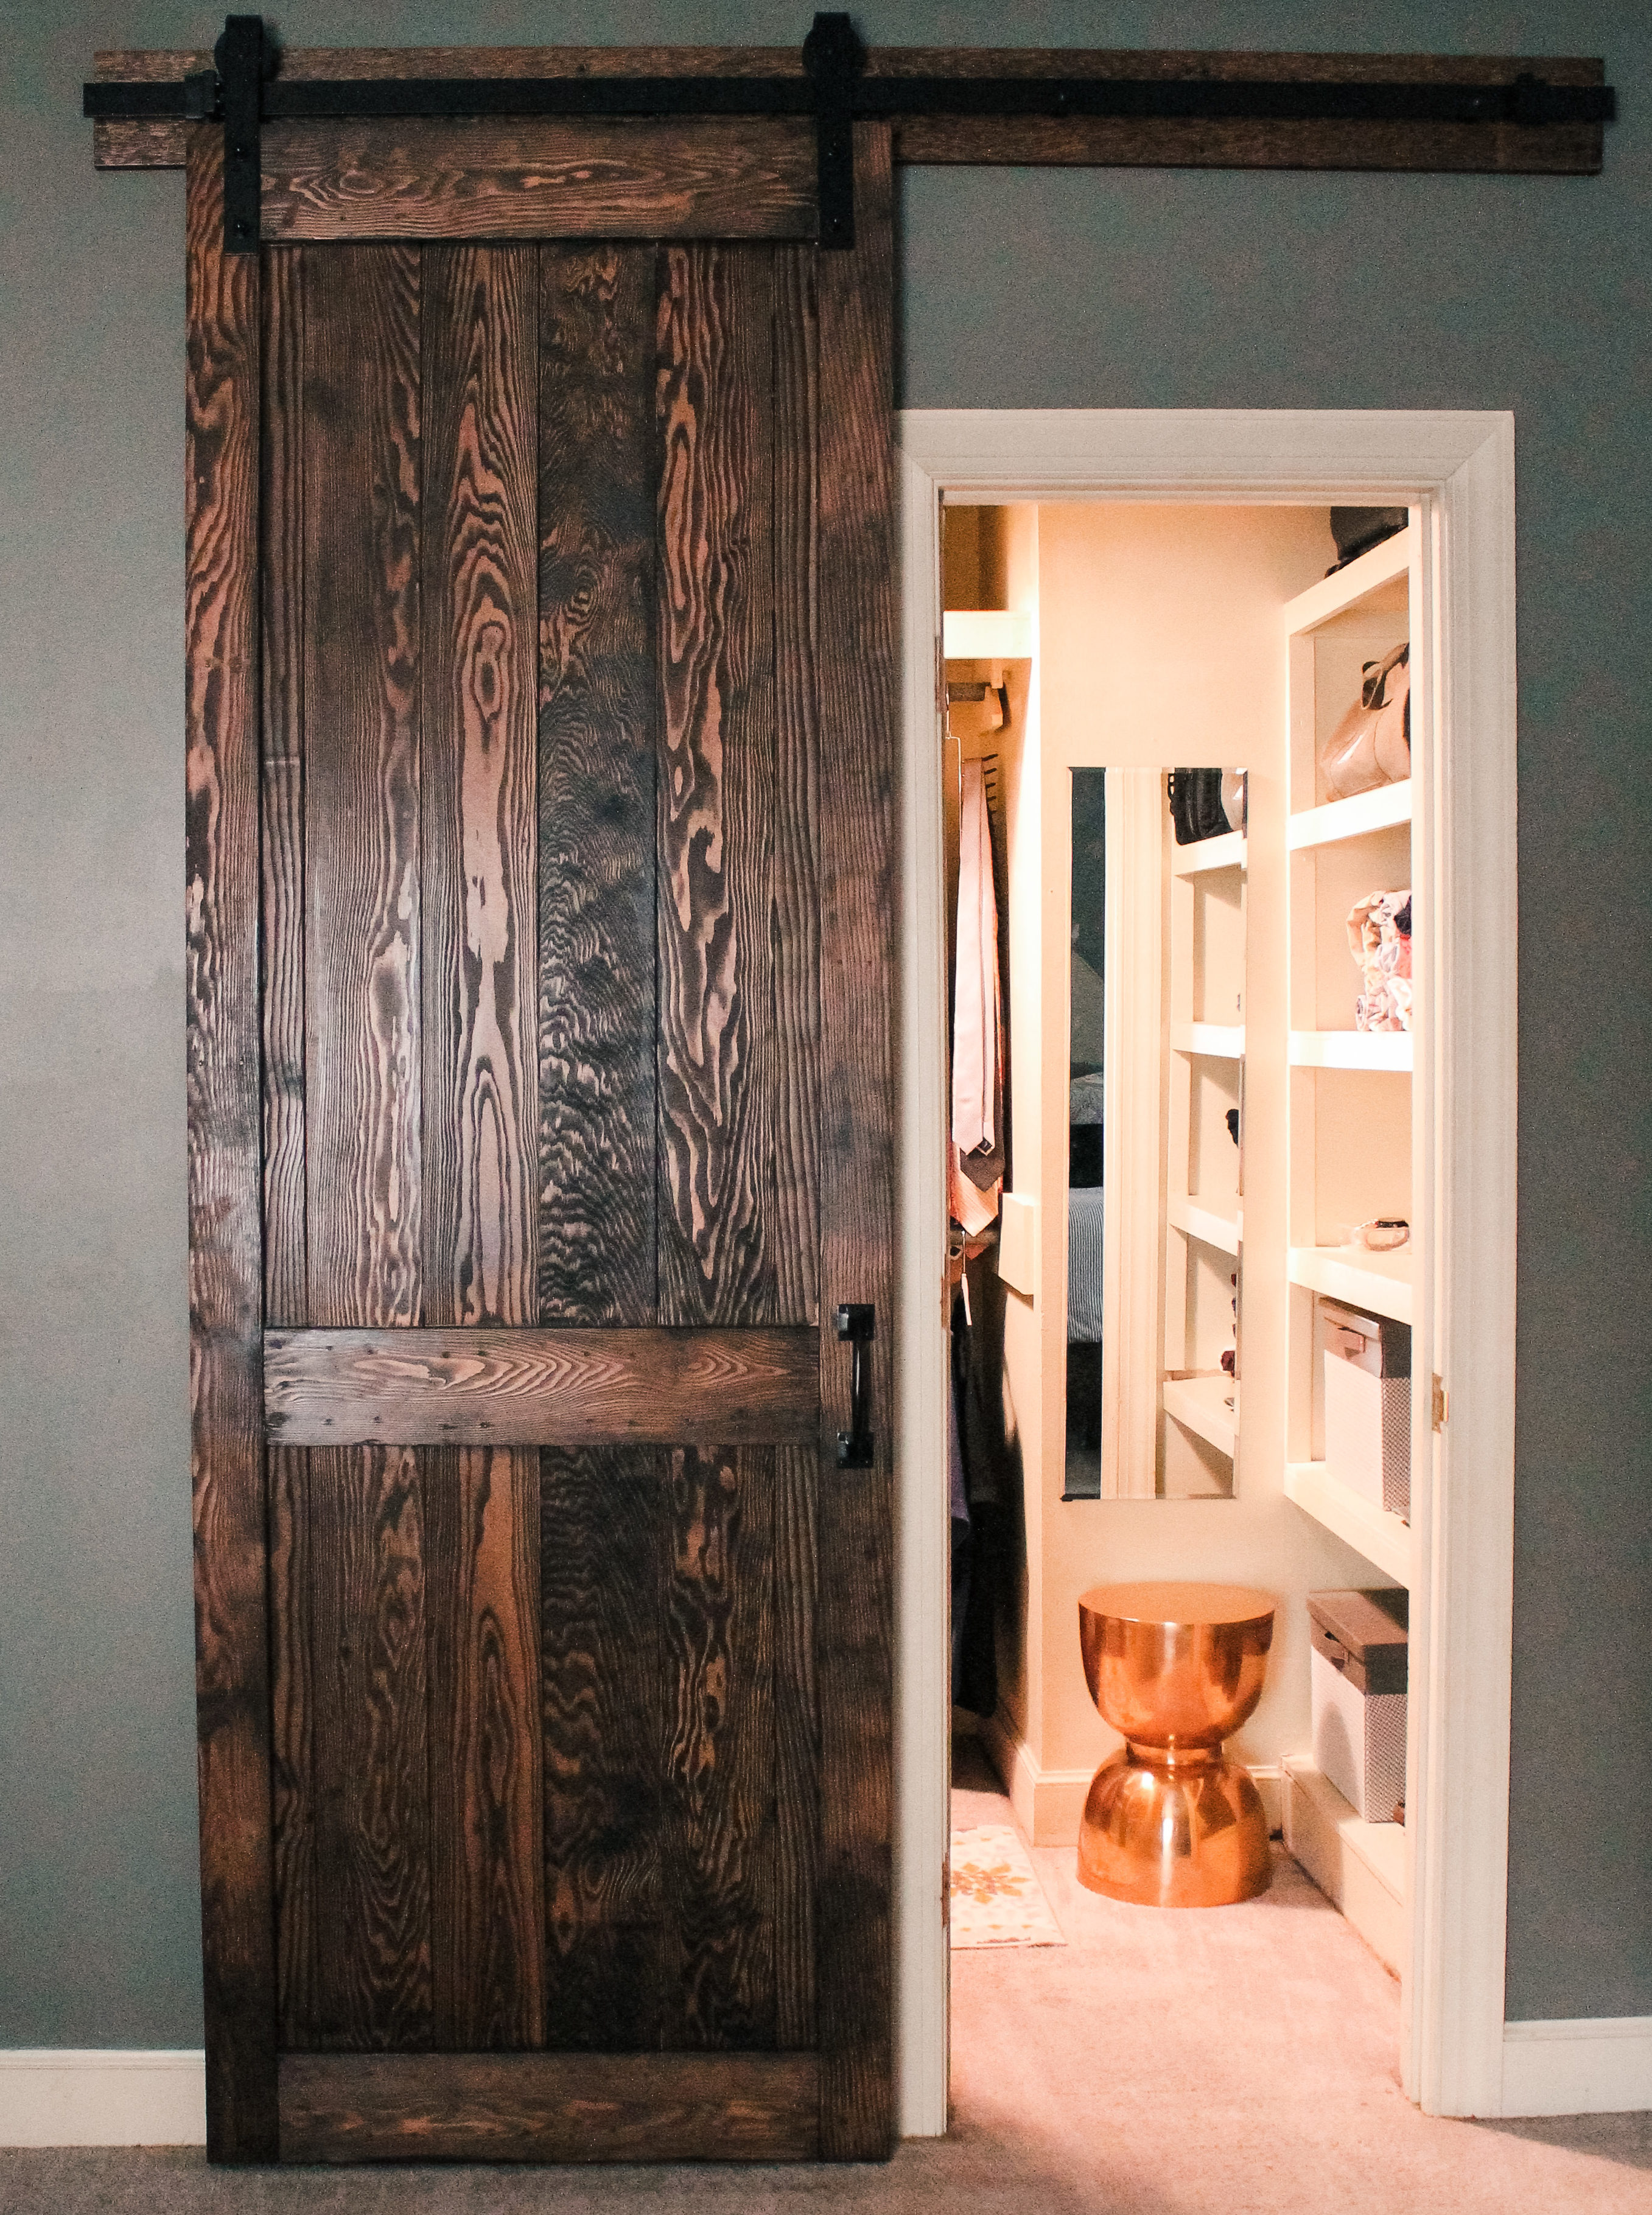
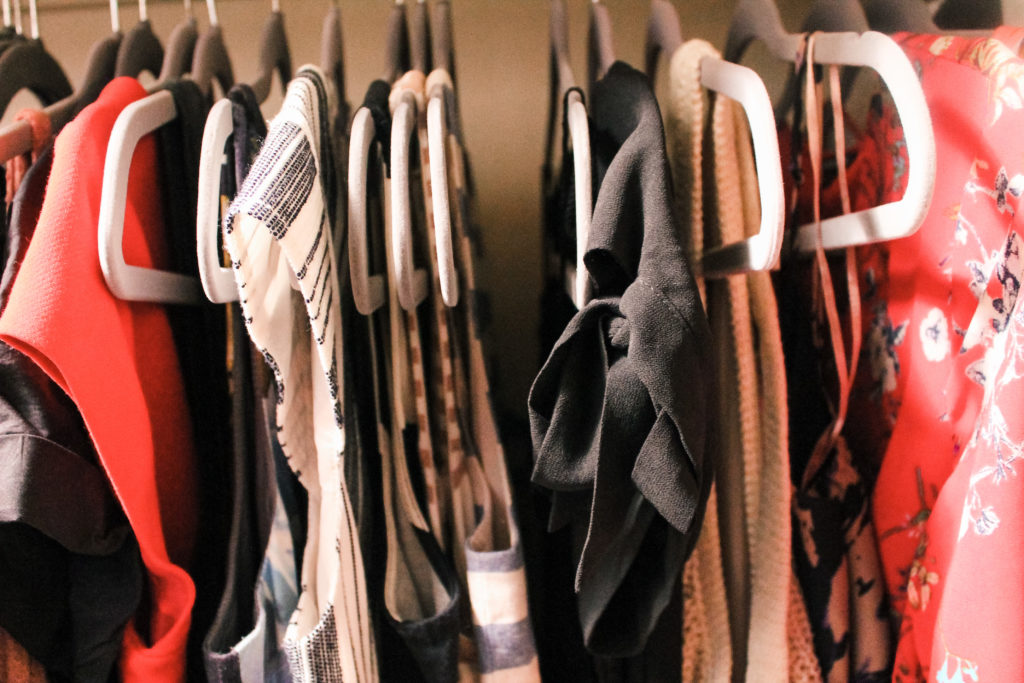
In our case, we built a barn door, painted the ceiling gray, changed the light fixture, added a copper stool and a rug, added storage bins, and added felt hangers. (See the full closet makeover mood board here.) All of these things were a way of creating something we love. Instead of just a closet, it feels like this space is it’s own room. My daughter says it’s like going to a boutique and I like that thought. With basically a capsule wardrobe now, I’ll keep telling myself I’m in a boutique. You determine what’s a reasonable route to beautifying the closet space.
4. Give every item a home.
In any organized space, each item should have it’s own dedicated spot.
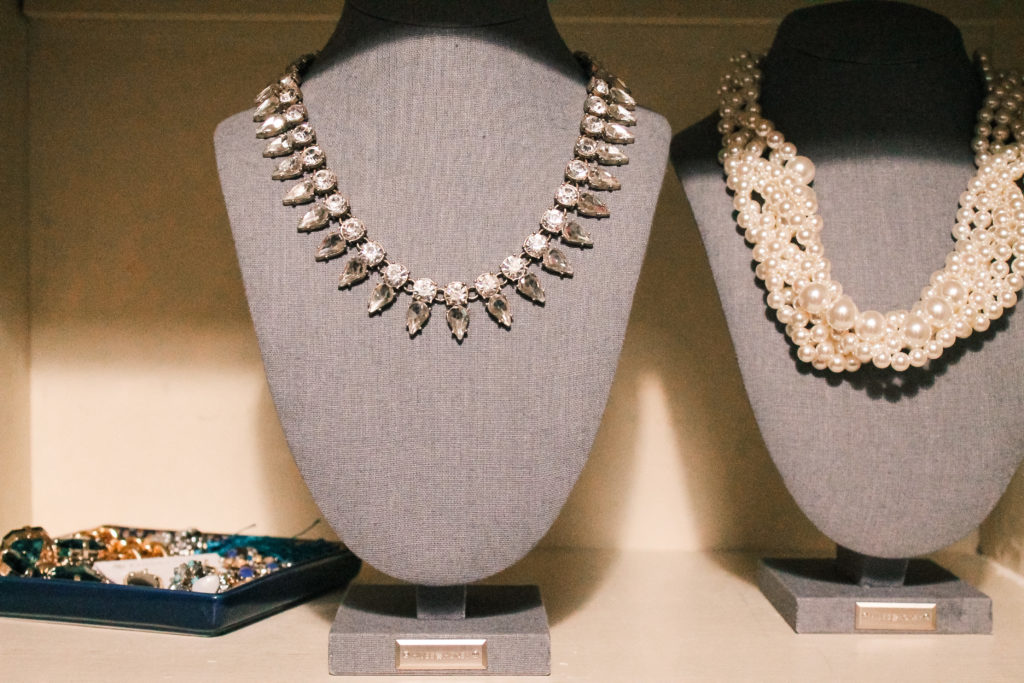
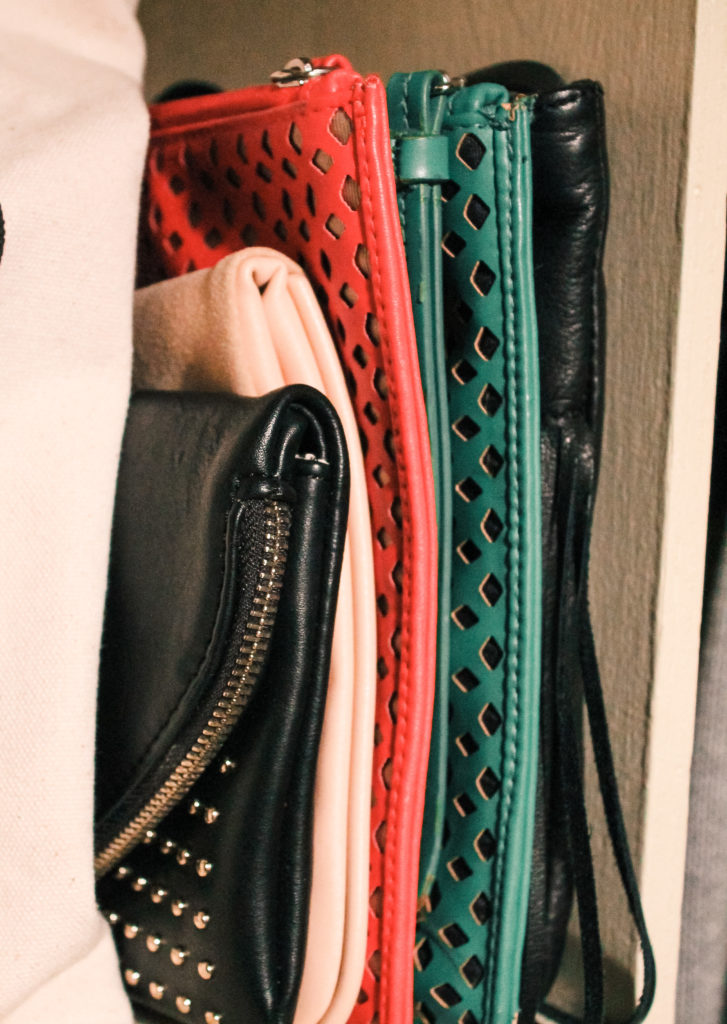
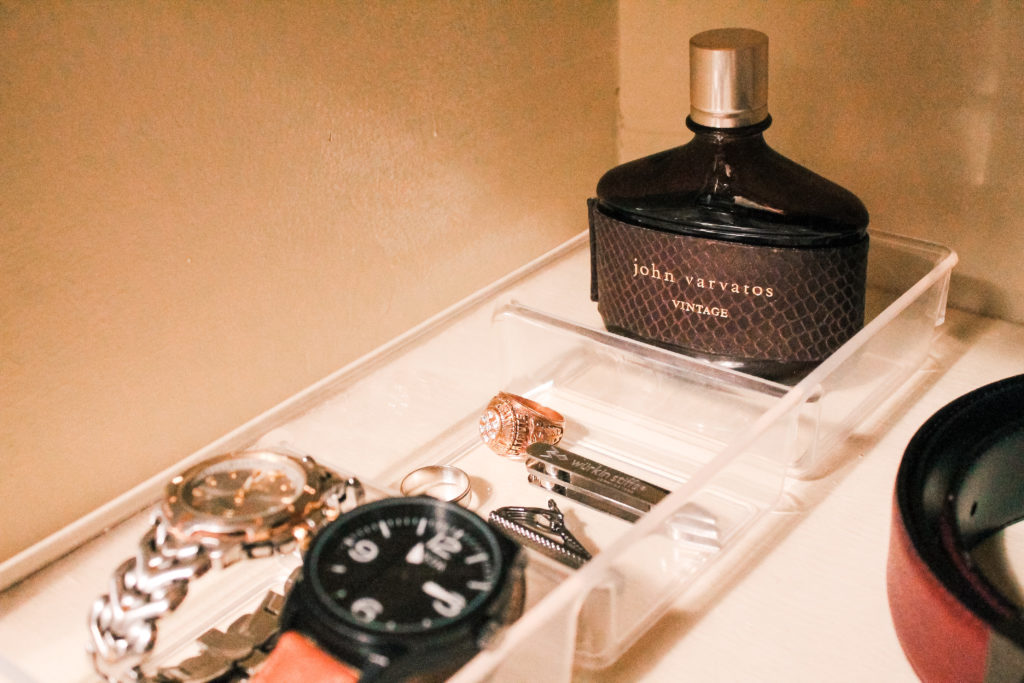
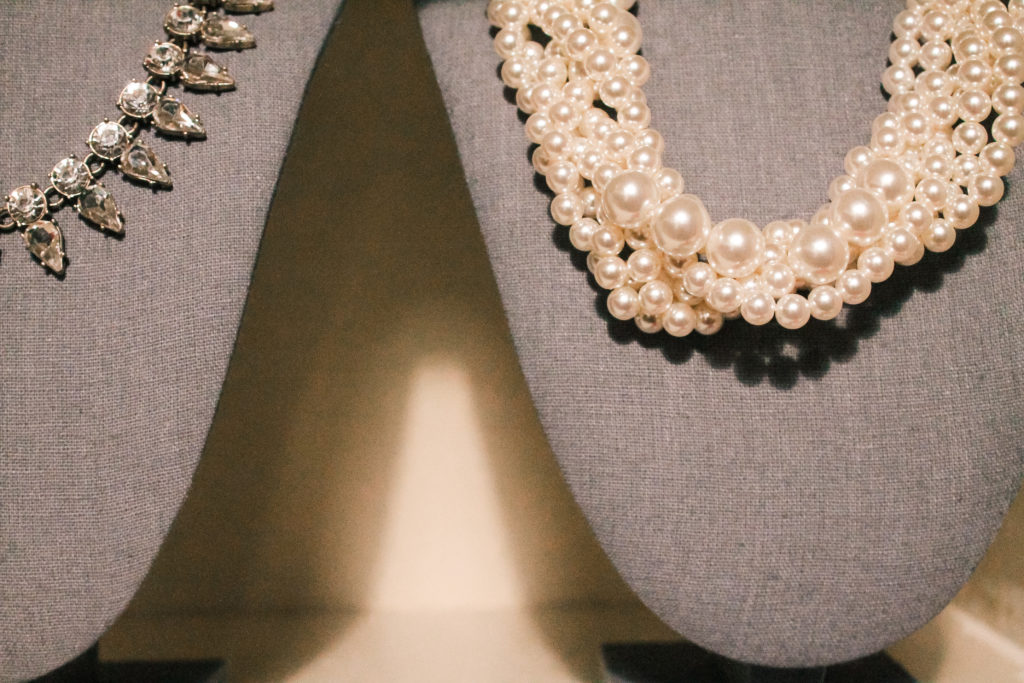
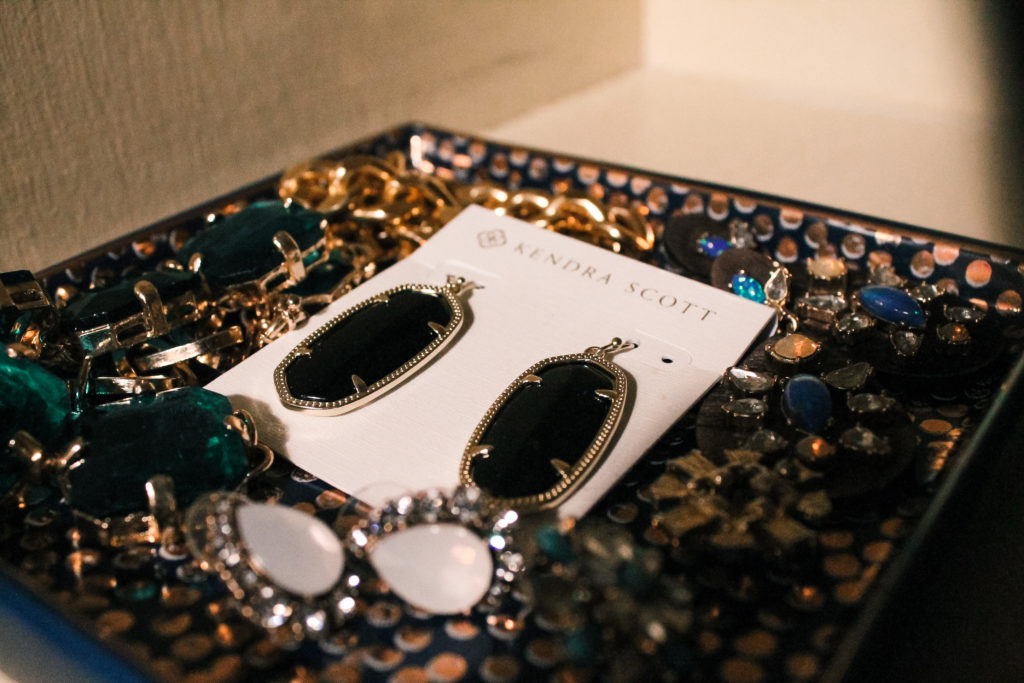
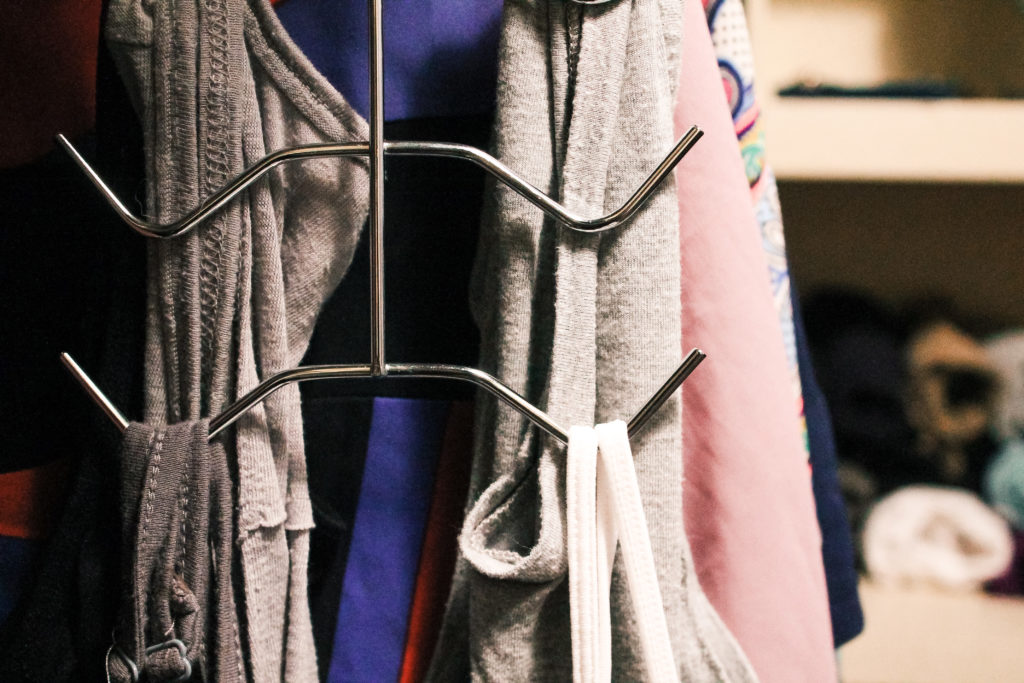
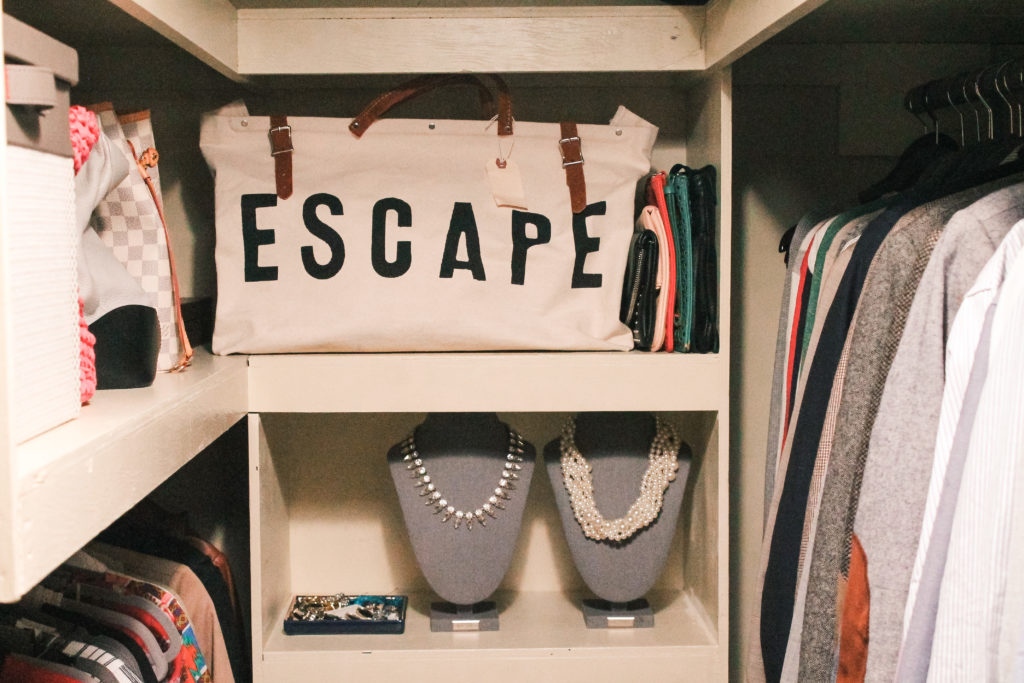
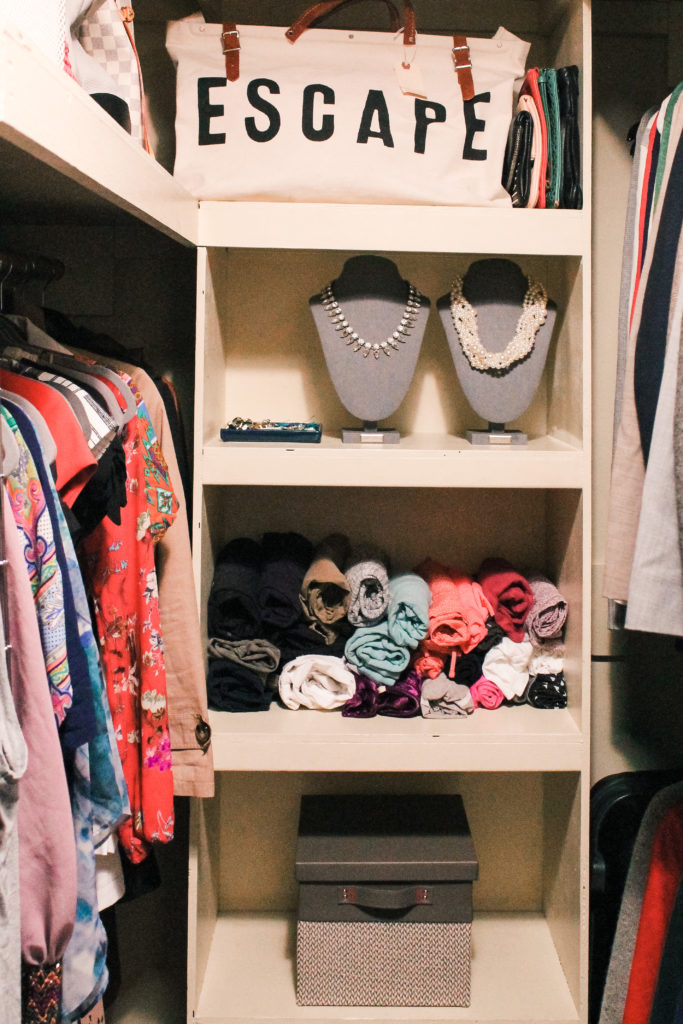
You have to provide items with their dedicated spot otherwise you’re asking for trouble. Once you’ve purged items that you don’t want or need, then you can start putting things back in the space. Add clothing and closet items back into closet, using organizing bins, new hangers, etc. where needed. If you don’t have a built-in closet, you may need to purchase a closet organizing system or separate bins to help the closet look uniform. In my case, I added in storage bins, jewelry mannequins, and new felt hangers to give each item it’s own spot. This step will help you maintain an organized closet forever.
5. Style the closet.
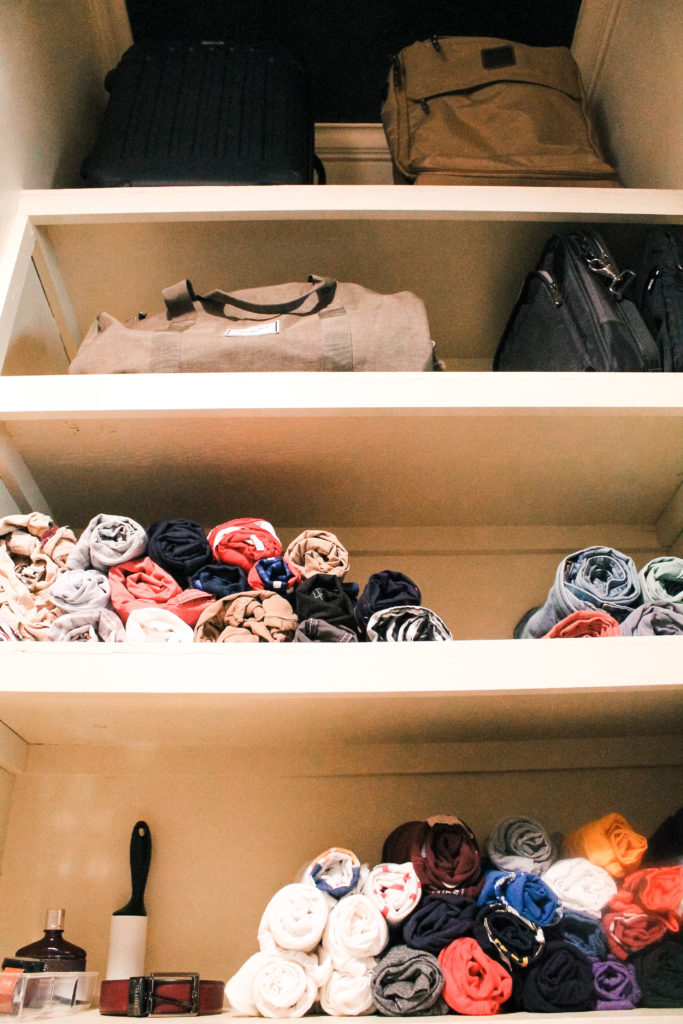
In order to create a closet that you love, pay attention to the aesthetics. When arranging clothing and other items, display them in a visually-appealing way. Instead of just folding the shirts, try rolling them up and then placing them on the shelves. Move luggage around the closet so that it’s more of a treasured item, not just luggage.
These 5 tips will help you create a closet that’s not only organized but also a space you love. If you’re feeling inspired to get some organizing done, then you don’t want to miss the rest of the #10daysoforganizing blogger collaboration. Check out the lineup below.
Mon. Jan 9 – Andrea (Decorating Cents)
Tues. Jan 10 – Whitney (Whitney J Decor)
Wed. Jan 11 – Katrina (Chic Little House)
Thurs. Jan 12 – Nicole (She Does a Bunch)
Fri. Jan 13 – Crystal (Holliday Collective)
Sat. Jan 14 – Carli (Fearfully and Wonderfully Made)
Sun. Jan 15 – Alaya (Behind the Big Green Door)
Mon. Jan 16 – Erin (Live Pretty on a Penny)
Tues. Jan 17 – Ashley (The Handy Homegirl)
Wed. Jan 18 – Saidah (Aprons and Stilletos)
Your closet can be a welcoming space that you love just as much as the rest of your home. Try out my 5 steps to creating a closet that you love and let me know how it turns out. Let me know what you think about our master closet organizing project below. Happy organizing!






14 Comments
7 Pings & Trackbacks
Pingback:
3 Tips to Organize the Laundry Room - The Holliday Collective
Pingback:
A Look Back on 2017 - The Holliday Collective
Pingback:
We Painted the Fireplace - The Holliday Collective
Pingback:
You Vote - We Create: Project #2 - The Holliday Collective
Pingback:
The power of painted ceilings - The Holliday Collective
Pingback:
DIY: Copper Light Fixture - The Holliday Collective
Pingback:
Closet Makeover Mood Board - The Holliday Collective